
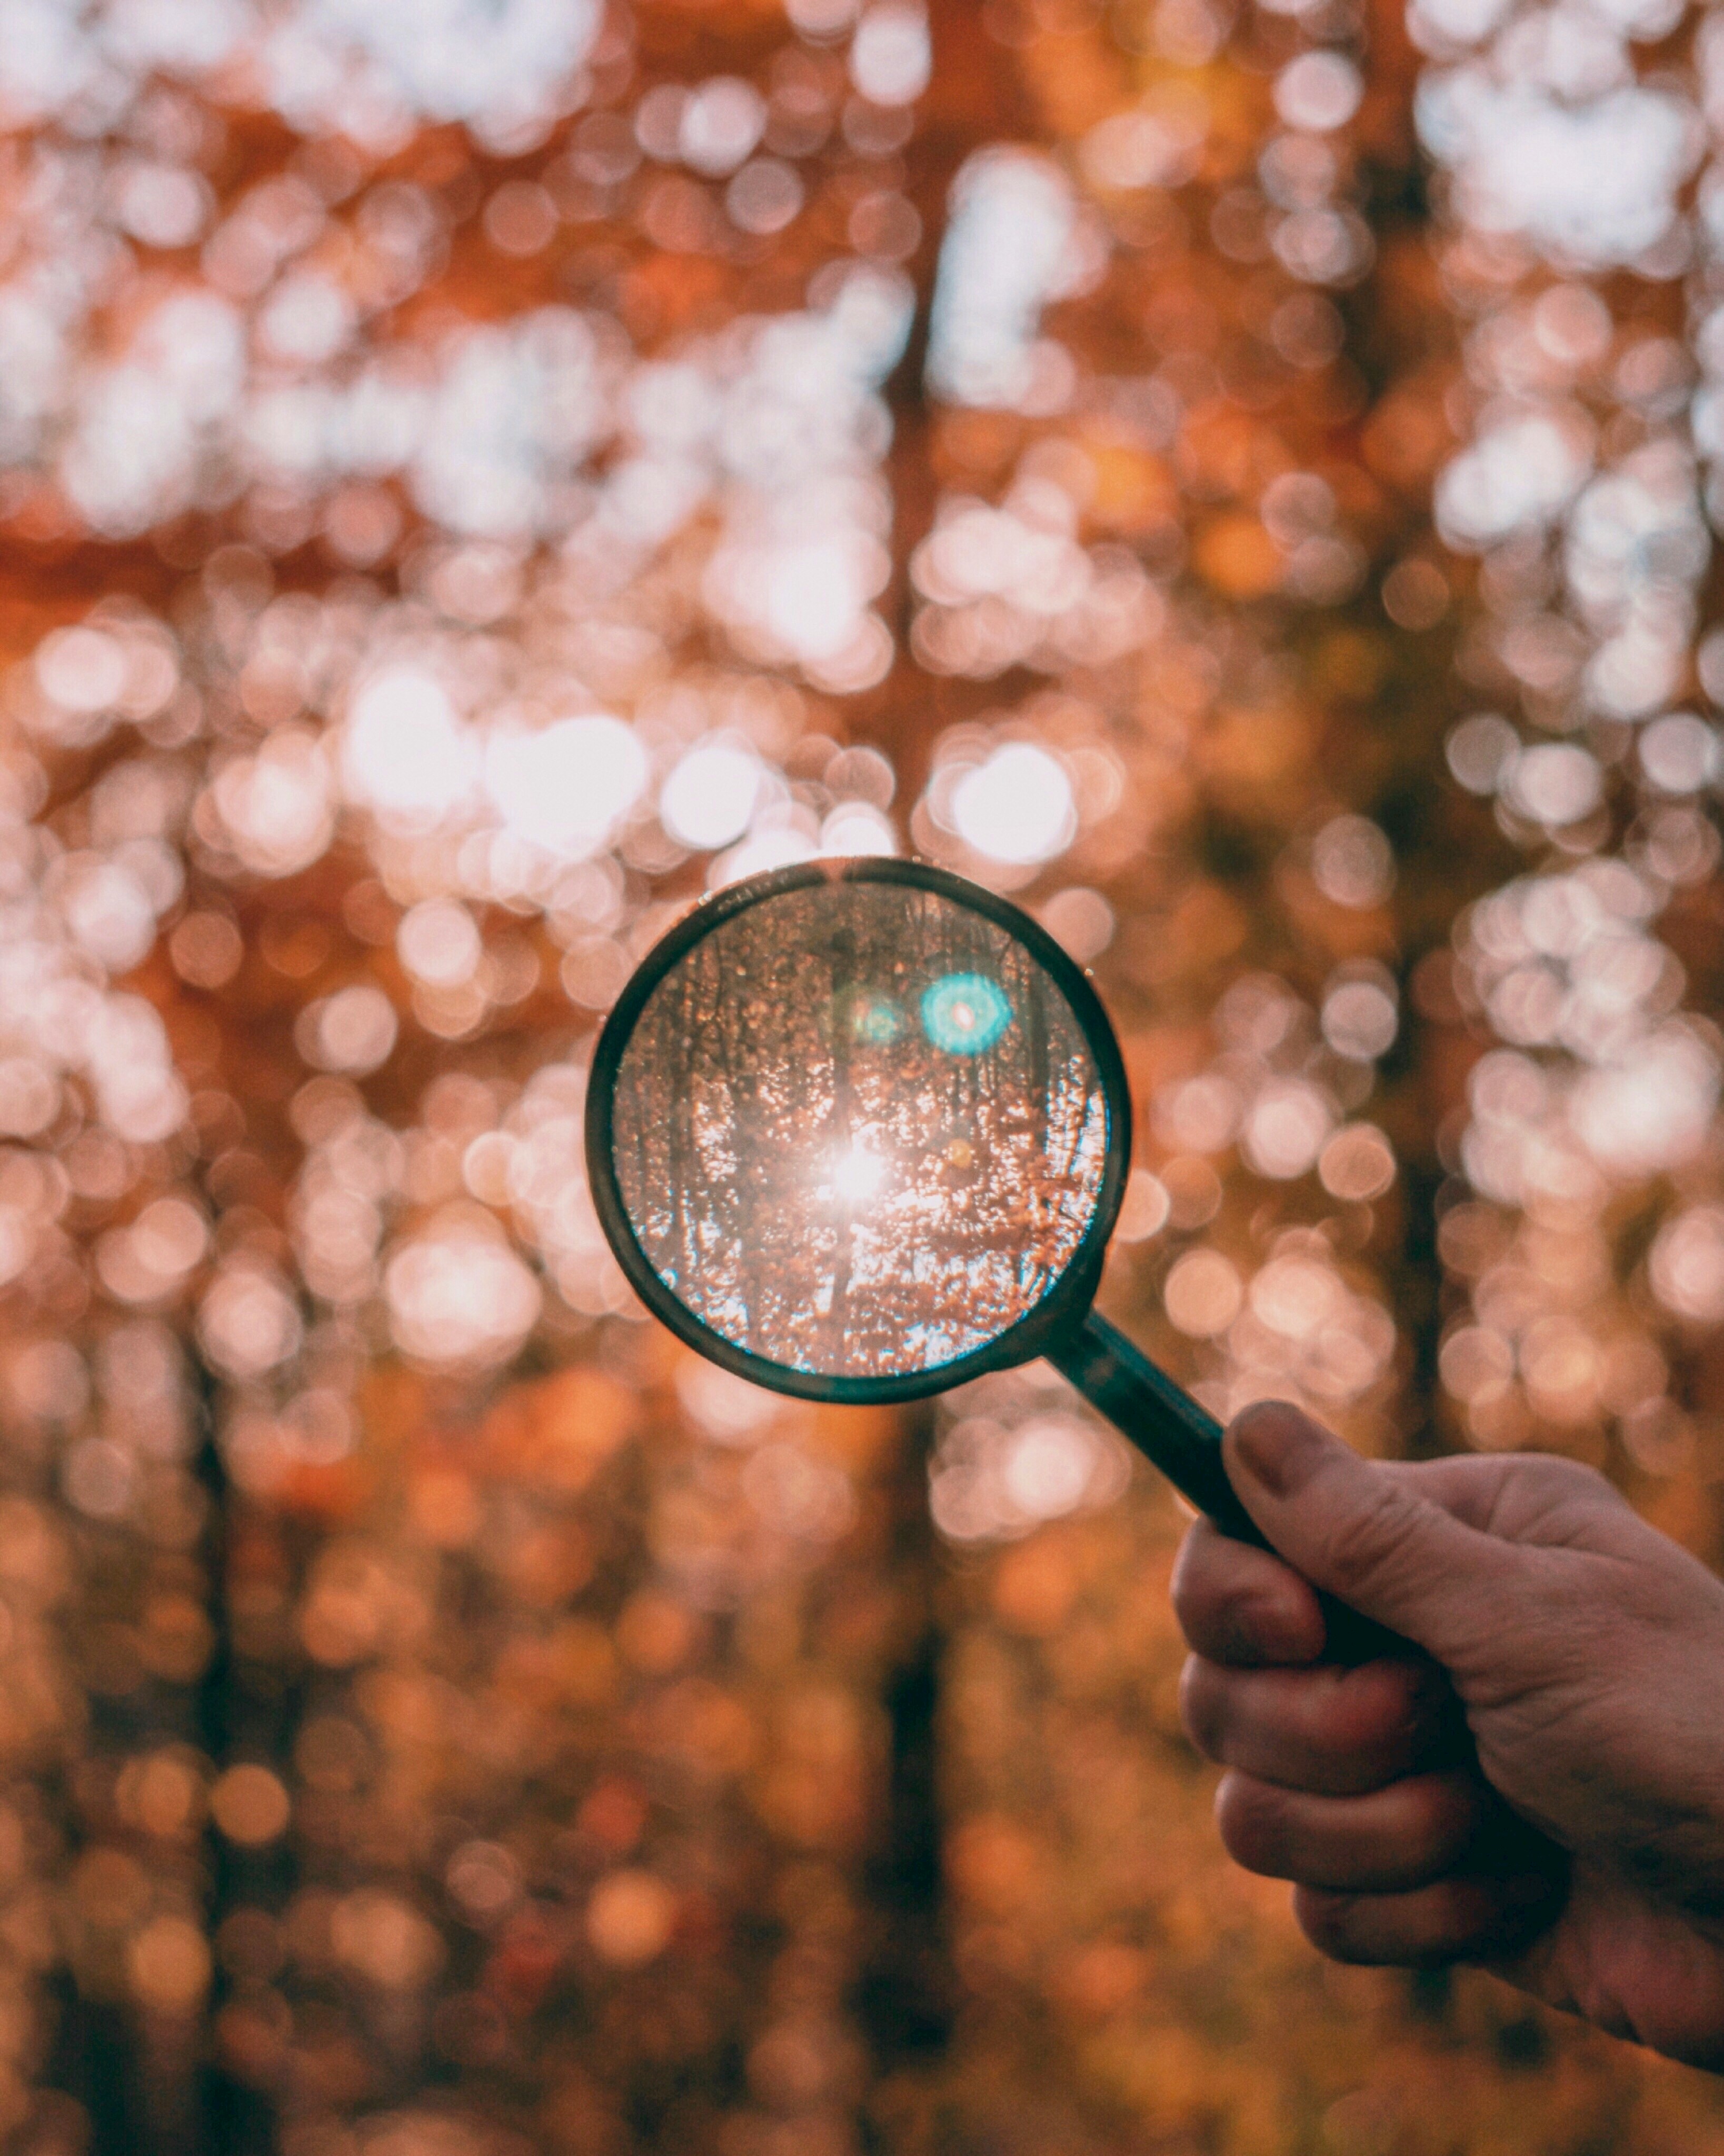
What happens next now I've booked my group adventure? 🎯
Essential pre-adventure prep & getting the most out of your trek. Will you do it?
by Alex Taylor · Fri 15 Mar 2024
You’ve signed up for a challenge, and now what? 🤔
Well, firstly we just wanted to say good on you! It's the first step on a great adventure 🎉.
Maybe you’ve started to think about how you should prepare. Or perhaps you’ve thought: “It’s ages away” and told yourself you’ll prepare ‘closer’ to the time ... *sigh* but how many times have you said that to yourself only to be in a panic with last-minute prep? You know who you are and I’m looking right at you 🤨.
To help you be best prepared for your trek this year we’ve put together 7 must-dos, here they are!
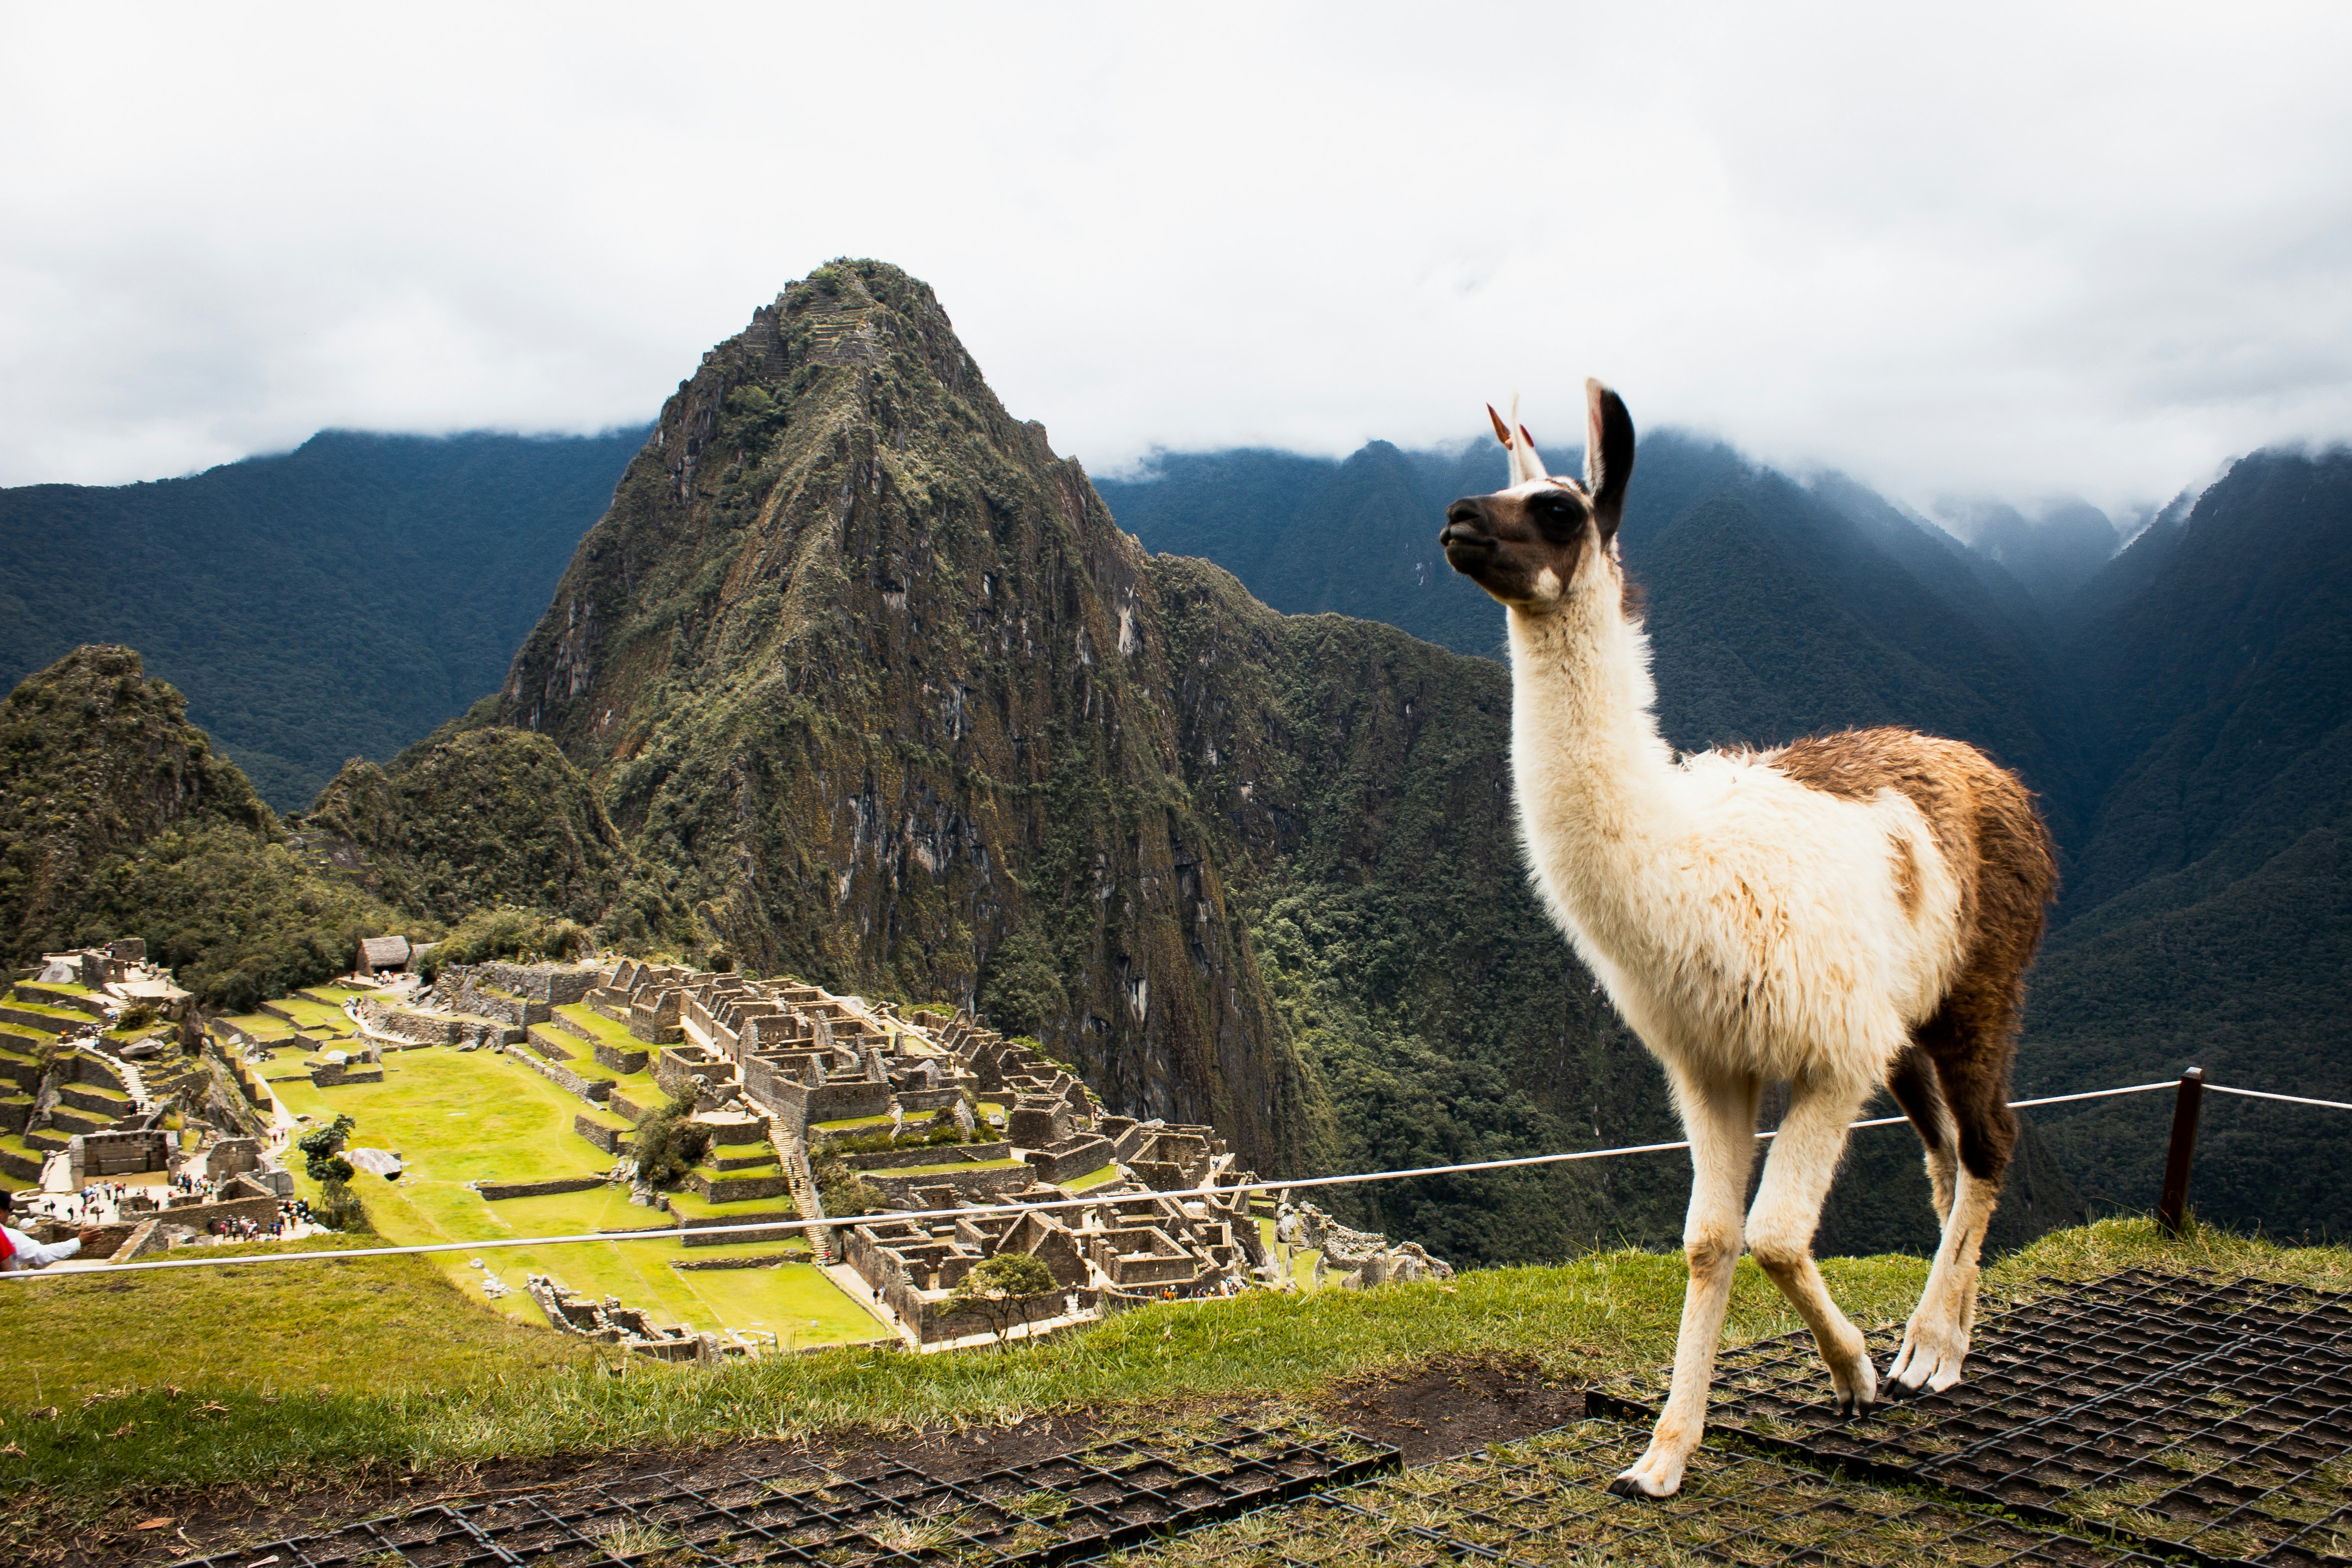
1. Build your llama-like Strength & Stamina 🦙
Did you know a Llama can carry a 60kg load for extended distances and trek 50km+ a day at altitudes of 4000m? Just thinking about that makes us feel out of breath!
We want you to have the best possible time on your trek and to embrace the challenge aspect. A huge part of this is working on your fitness and reaching a level you are comfortable with. Now we aren’t expecting you to train like Seb Coe but regular exercise and activity through the week is key!
Essentials ☑️
👣 Aim for 10000 steps a day – walk wherever you can and get used to spending time on your feet
🏉 2h a week of your favourite cardio exercise/sport at a moderate intensity – 2 x 30 min + 1 x 60 min sessions weekly will take you a long way towards your fitness goals! Do whatever cardio exercise you enjoy most as you will be most motivated to continue that long-term.
- We love the stair master as a great cardio option to prepare for a trek but we get it, not everybody wants to do 60 minutes on the stairs. Try 20 mins stairs, 20 mins static bike, 20 mins treadmill at 5% incline (all back to back) for more variation!
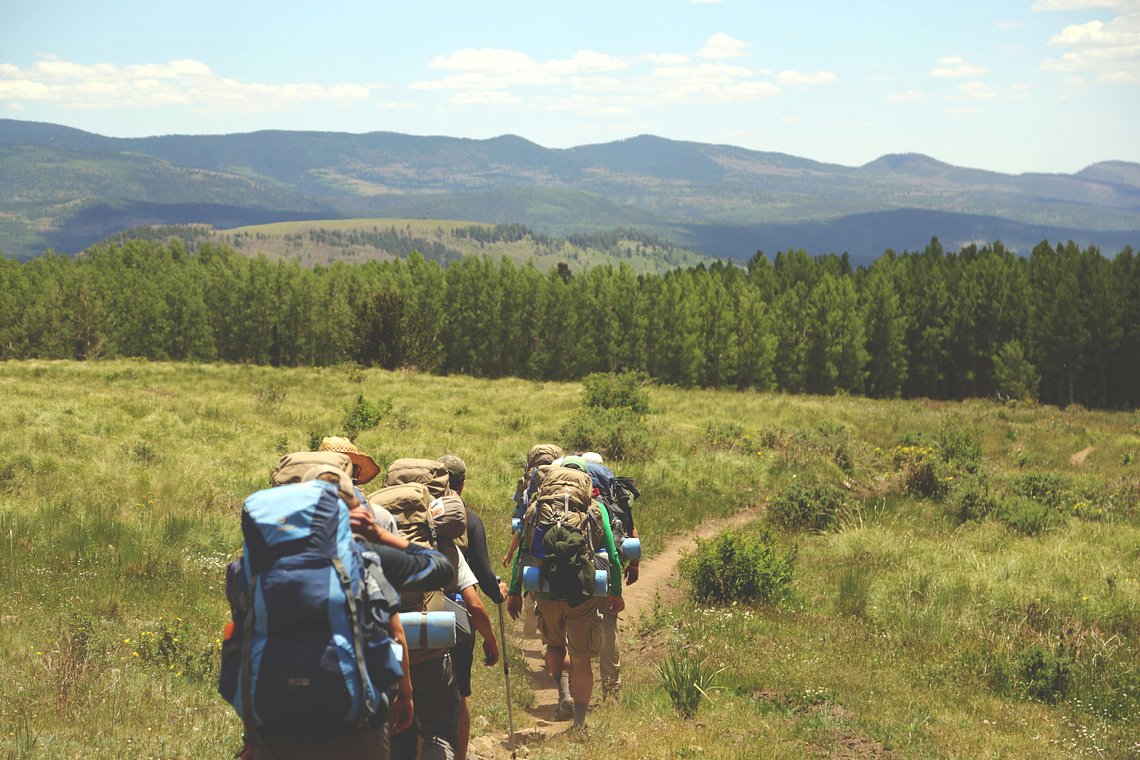
⛰️ Additionally, a longer outdoors hike, 3h+, every weekend/every other – getting used to walking across different surfaces and terrains is important, especially in preventing a rolled ankle on your actual trek. This is also where you will practice carrying a pack (build up to carrying 10kg) so it won’t be a shock when the real thing comes around!
The Extra Distance 🏆
🏋️♀️ Strength sessions in the gym – leg strength is important when carrying weight uphill and surprisingly your legs take quite a toll going downhill too. We enjoy squats and lunges but don’t neglect core strength! Find a basic training plan here but to find out what’s best for you consult a personal trainer.
🏕️ Extend your weekend walk – get used to trekking by…trekking! Find new challenging terrain, increase your pack weight, find longer routes and when the challenge day comes around it will feel like light work.
Key Takeaways ❗
- Do what you can and listen to your body. Some exercise is better than none!
- Start as early as possible – little but often spread out over months is much better than spending hours running 3 weeks before the challenge.
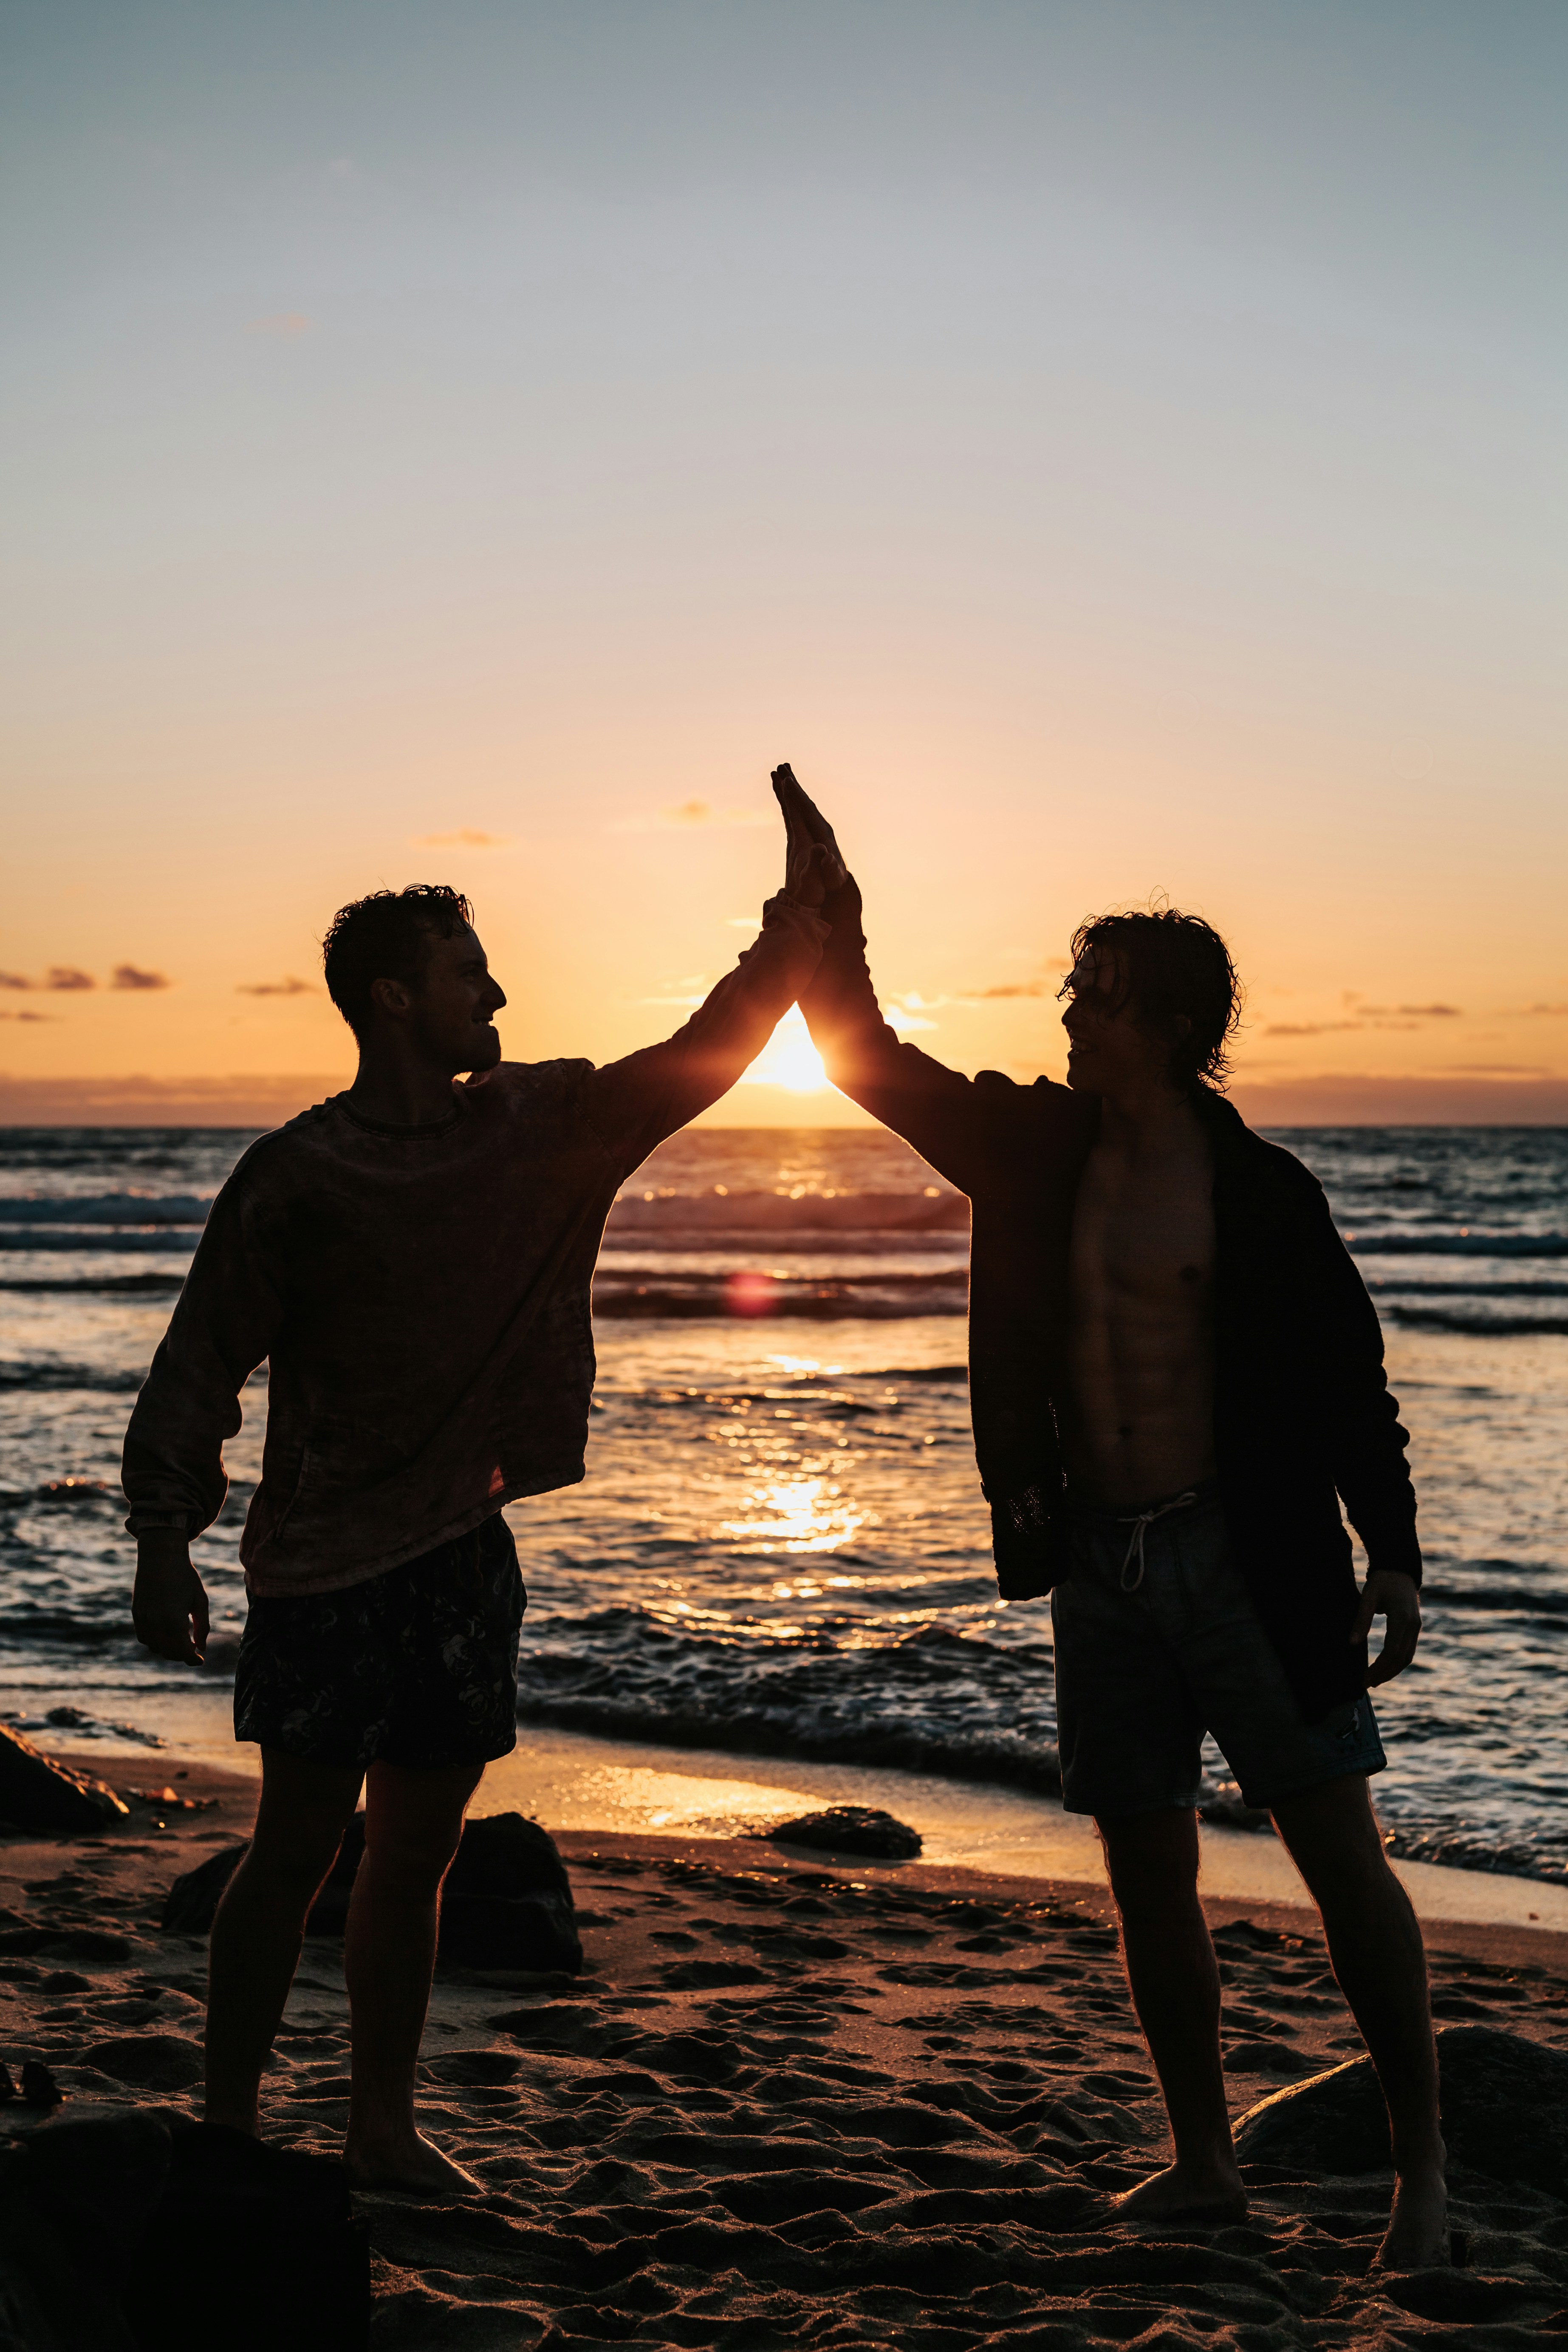
2. Team Up with a Friend 🧡
There’s no denying any struggle is improved by the presence of a friend. Why not bring a friend on the challenge with you? Together, you'll push each other further, and celebrate milestones as a team, all the while creating unforgettable memories that solidify your bond.
Or maybe you’re doing the challenge solo, hoping to meet new people? We love that! Find someone to train with you instead. Whether it’s motivating each other to go out on a weekend hike or waking up early to go for a run, friends give you that extra little push you need when you don’t feel like it.
Not to mention that a friend by your side creates accountability. It will be a lot harder to make excuses when you’ve told someone about your training plans and you know they’ll be checking up on you! Just imagine…
You’re sitting on your bed at home, staring out the window into the uninviting darkness outside. The warmth of your bed calls, inviting you to watch another episode of that TV show you’ve been binging. A notification pops up on your phone, it’s a message from your friend: “How’s the training going for your Peru Trek?”...
... you remember 2 weeks ago you promised a friend, and yourself, that you would run twice a week to get into shape for Peru. It’s Sunday evening and you need this run to hit your goal. Their silent encouragement (and potential side-eye) flashes in your mind. With a groan, you grab your trainers and head out the door.
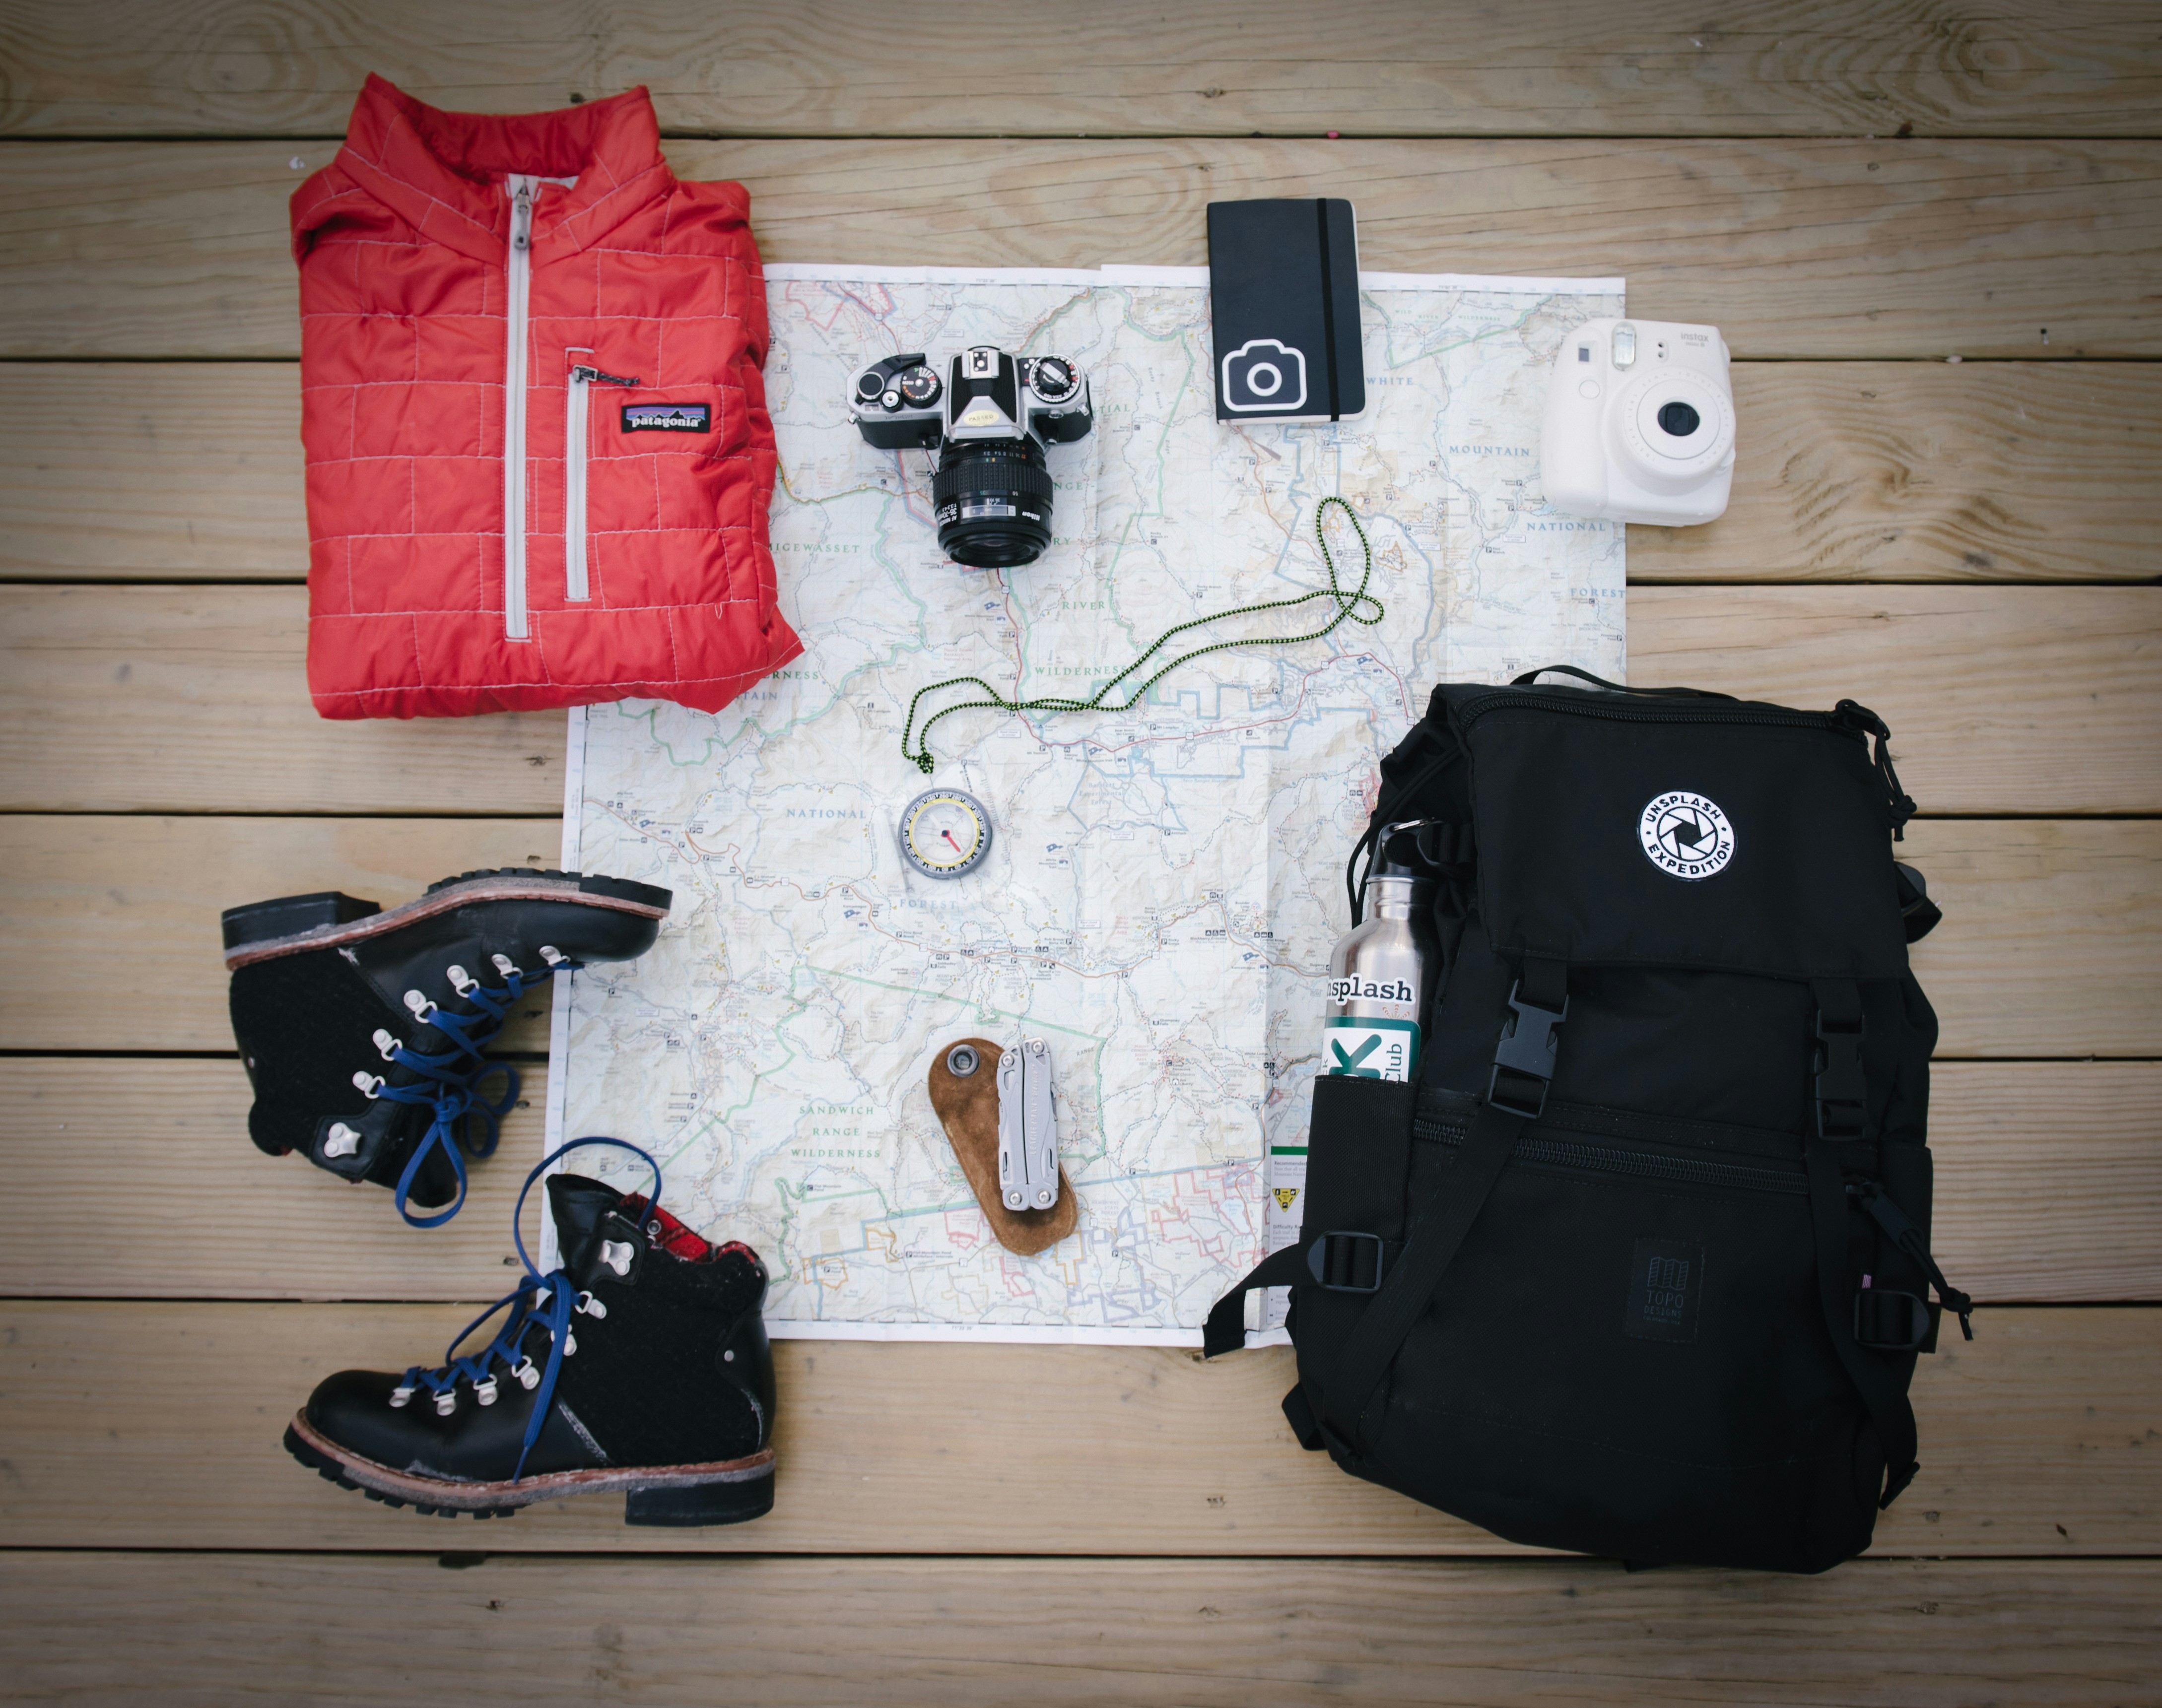
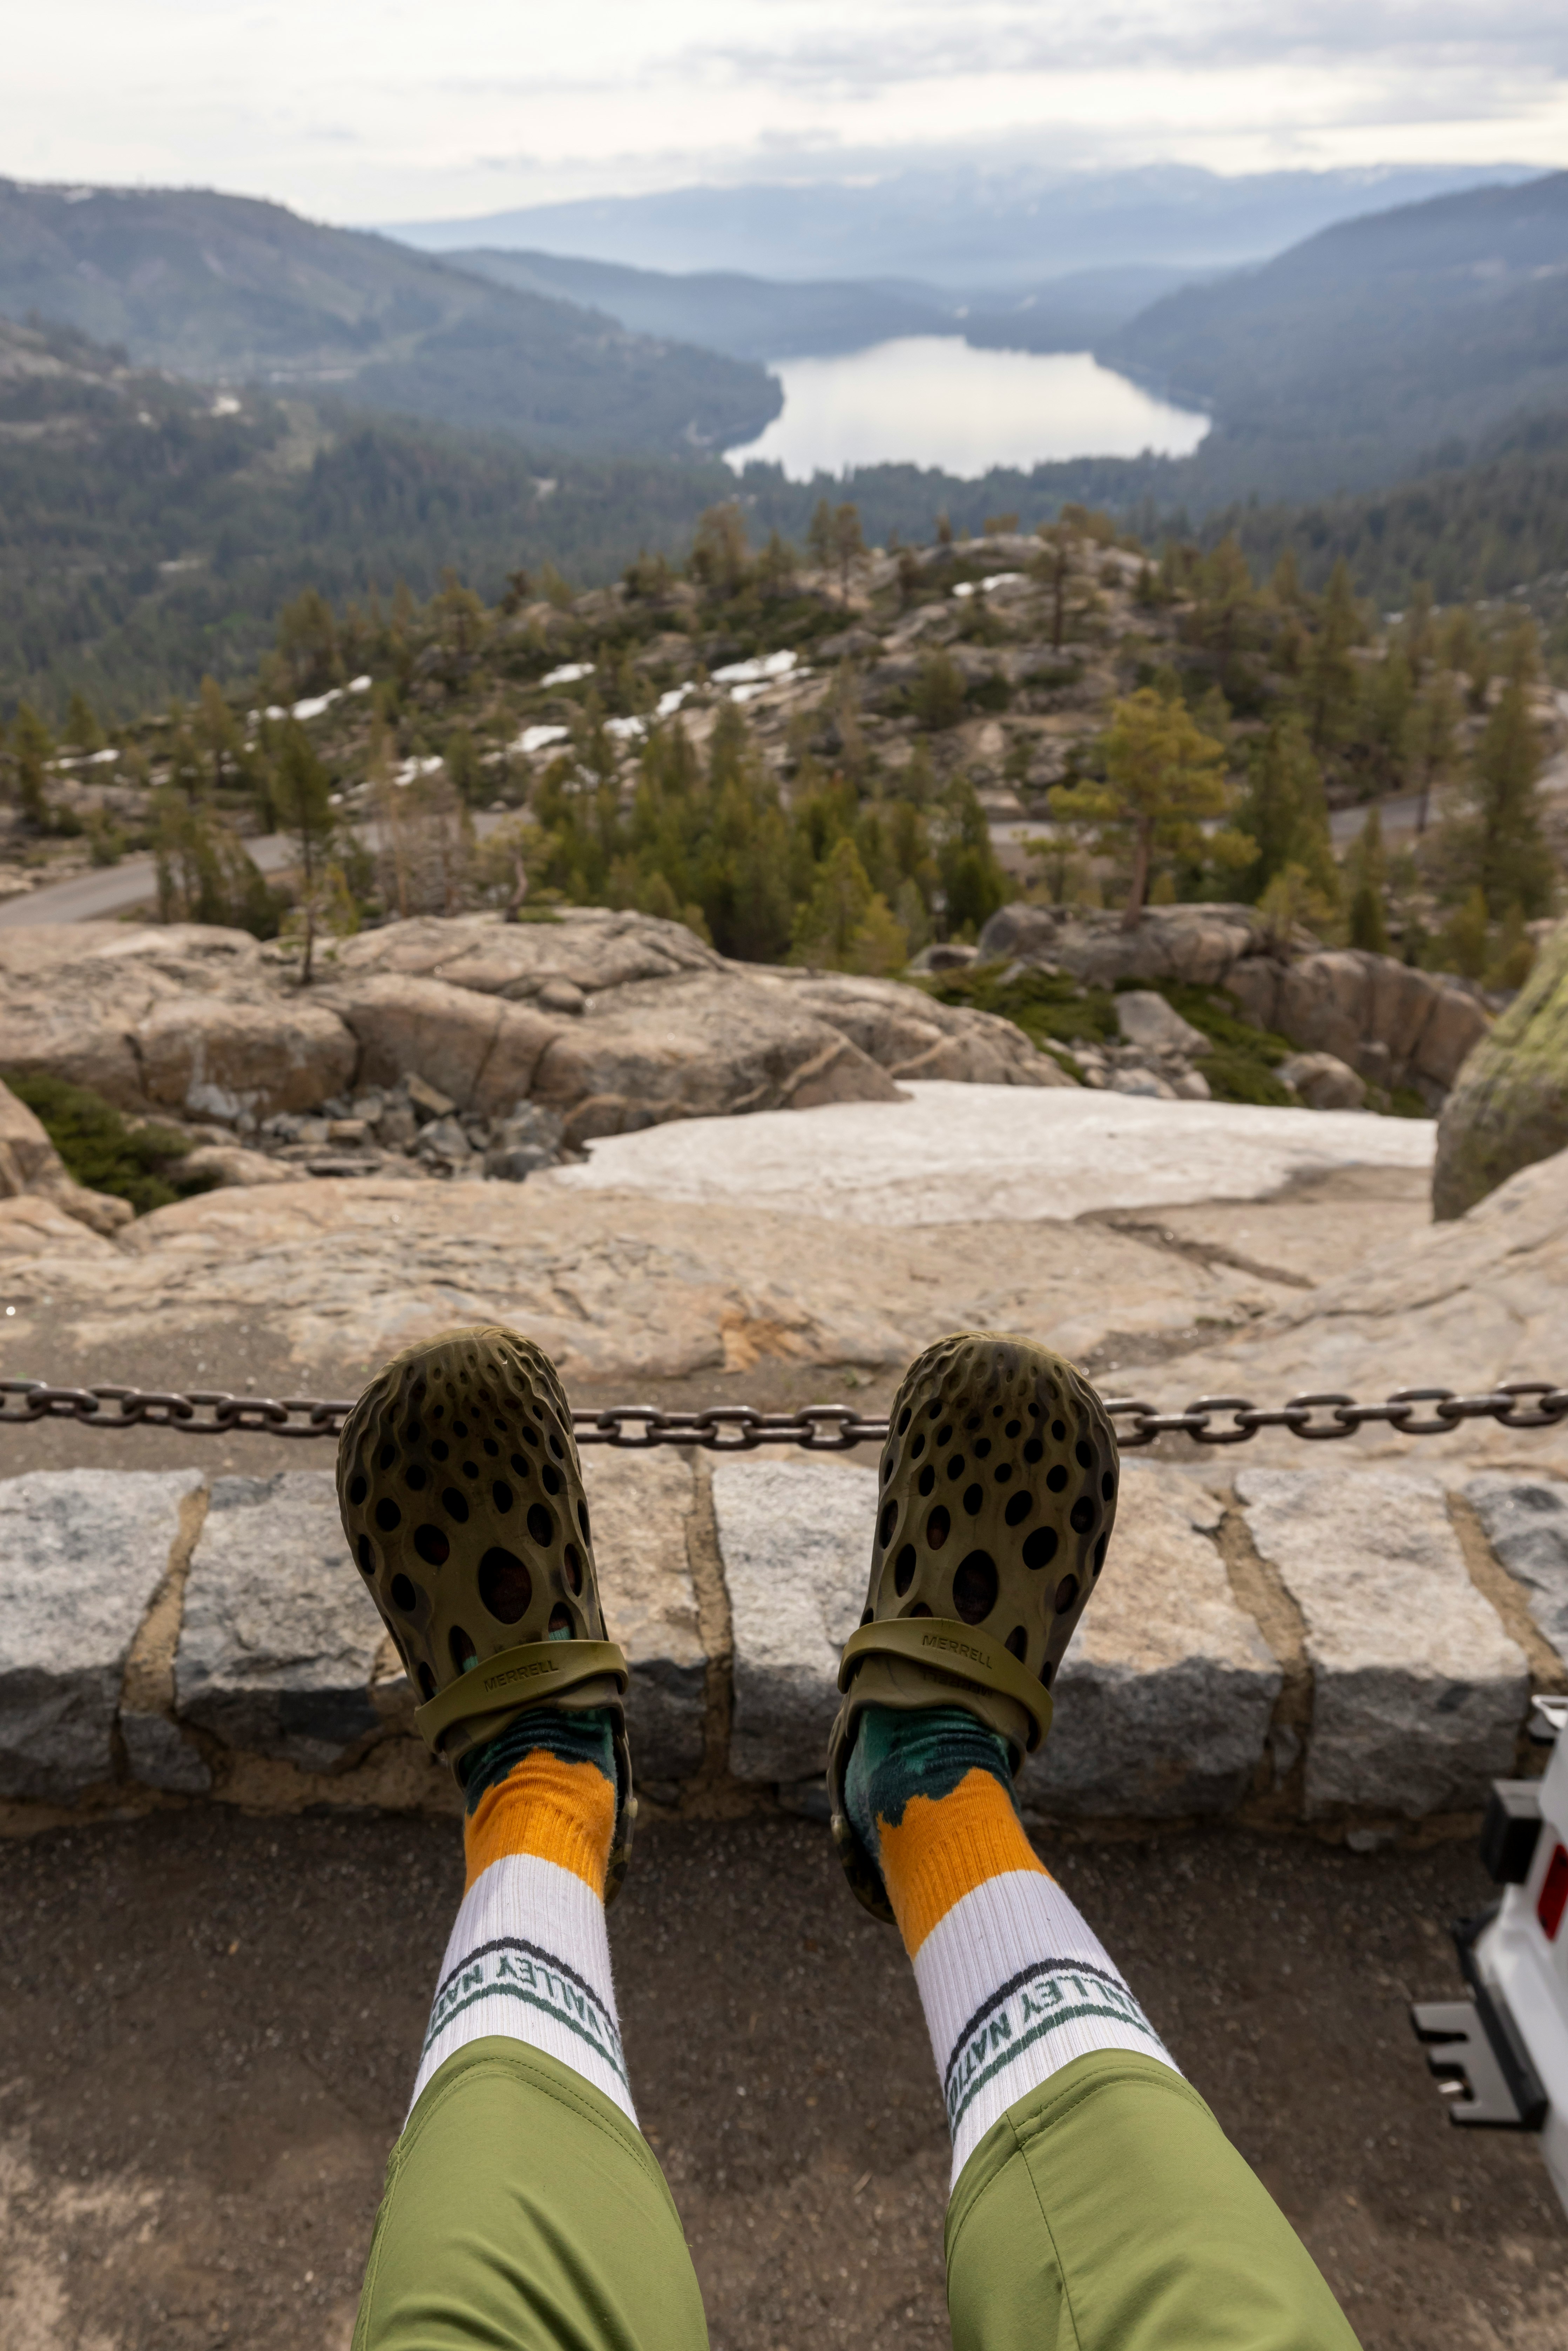
3. Test Your Kit well before Challenge Day 🎒
Ever set out on a hike with brand new boots, only to end up with a throbbing blister the size of a 50p coin? There's a reason seasoned challenge takers swear by breaking in their kit well before tackling the real deal.
New boots can rub and cause blisters, hiking poles might have an unusual setup mechanism, and an unfamiliar backpack could leave you with a sore back. Taking your kit on shorter walks beforehand allows you to identify any potential issues and make adjustments.
You can break in your boots gradually, find the perfect backpack fit, and practice setting your poles under pressure-free conditions. This pre-adventure prep ensures you hit the trail feeling comfortable and confident, meaning you can focus on enjoying the stunning scenery (and not wincing with every step)!
Another thing to get right on your training walks is layering. It allows you to adapt to changing temperatures throughout the day. A breathable base layer wicks away sweat, keeping you dry and comfortable on the move. An insulating mid-layer traps warmth, perfect for those cool morning starts. Finally, a windproof and waterproof outer shell protects you from rain, wind, and unexpected weather changes. By layering, you can adjust your clothing system on the fly, it's like a personal thermostat!
Getting to know yourself, and being able to answer “Do I run hot/cold/sweaty?” is important in judging the layers you need to match the weather conditions on the day. With practice, you’ll be able to look at a weather forecast or feel the temperature outside and know exactly what layers you’re going to put on for that perfect ‘comfortable-but-not-sweaty’ feeling. Getting your layers right, it’s one of the underrated satisfactions of hiking.
Golden rule – Don’t go away with any gear you haven’t tested before. We’ve all done it before, bought a sweet new super aesthetic sports bra, underwear, top or whatever and after a couple of hours of use it’s started to rub in the most irritating and unexpected manner ever! Now this is something we’ve tried and want to avoid, so TRY YOUR GEAR.
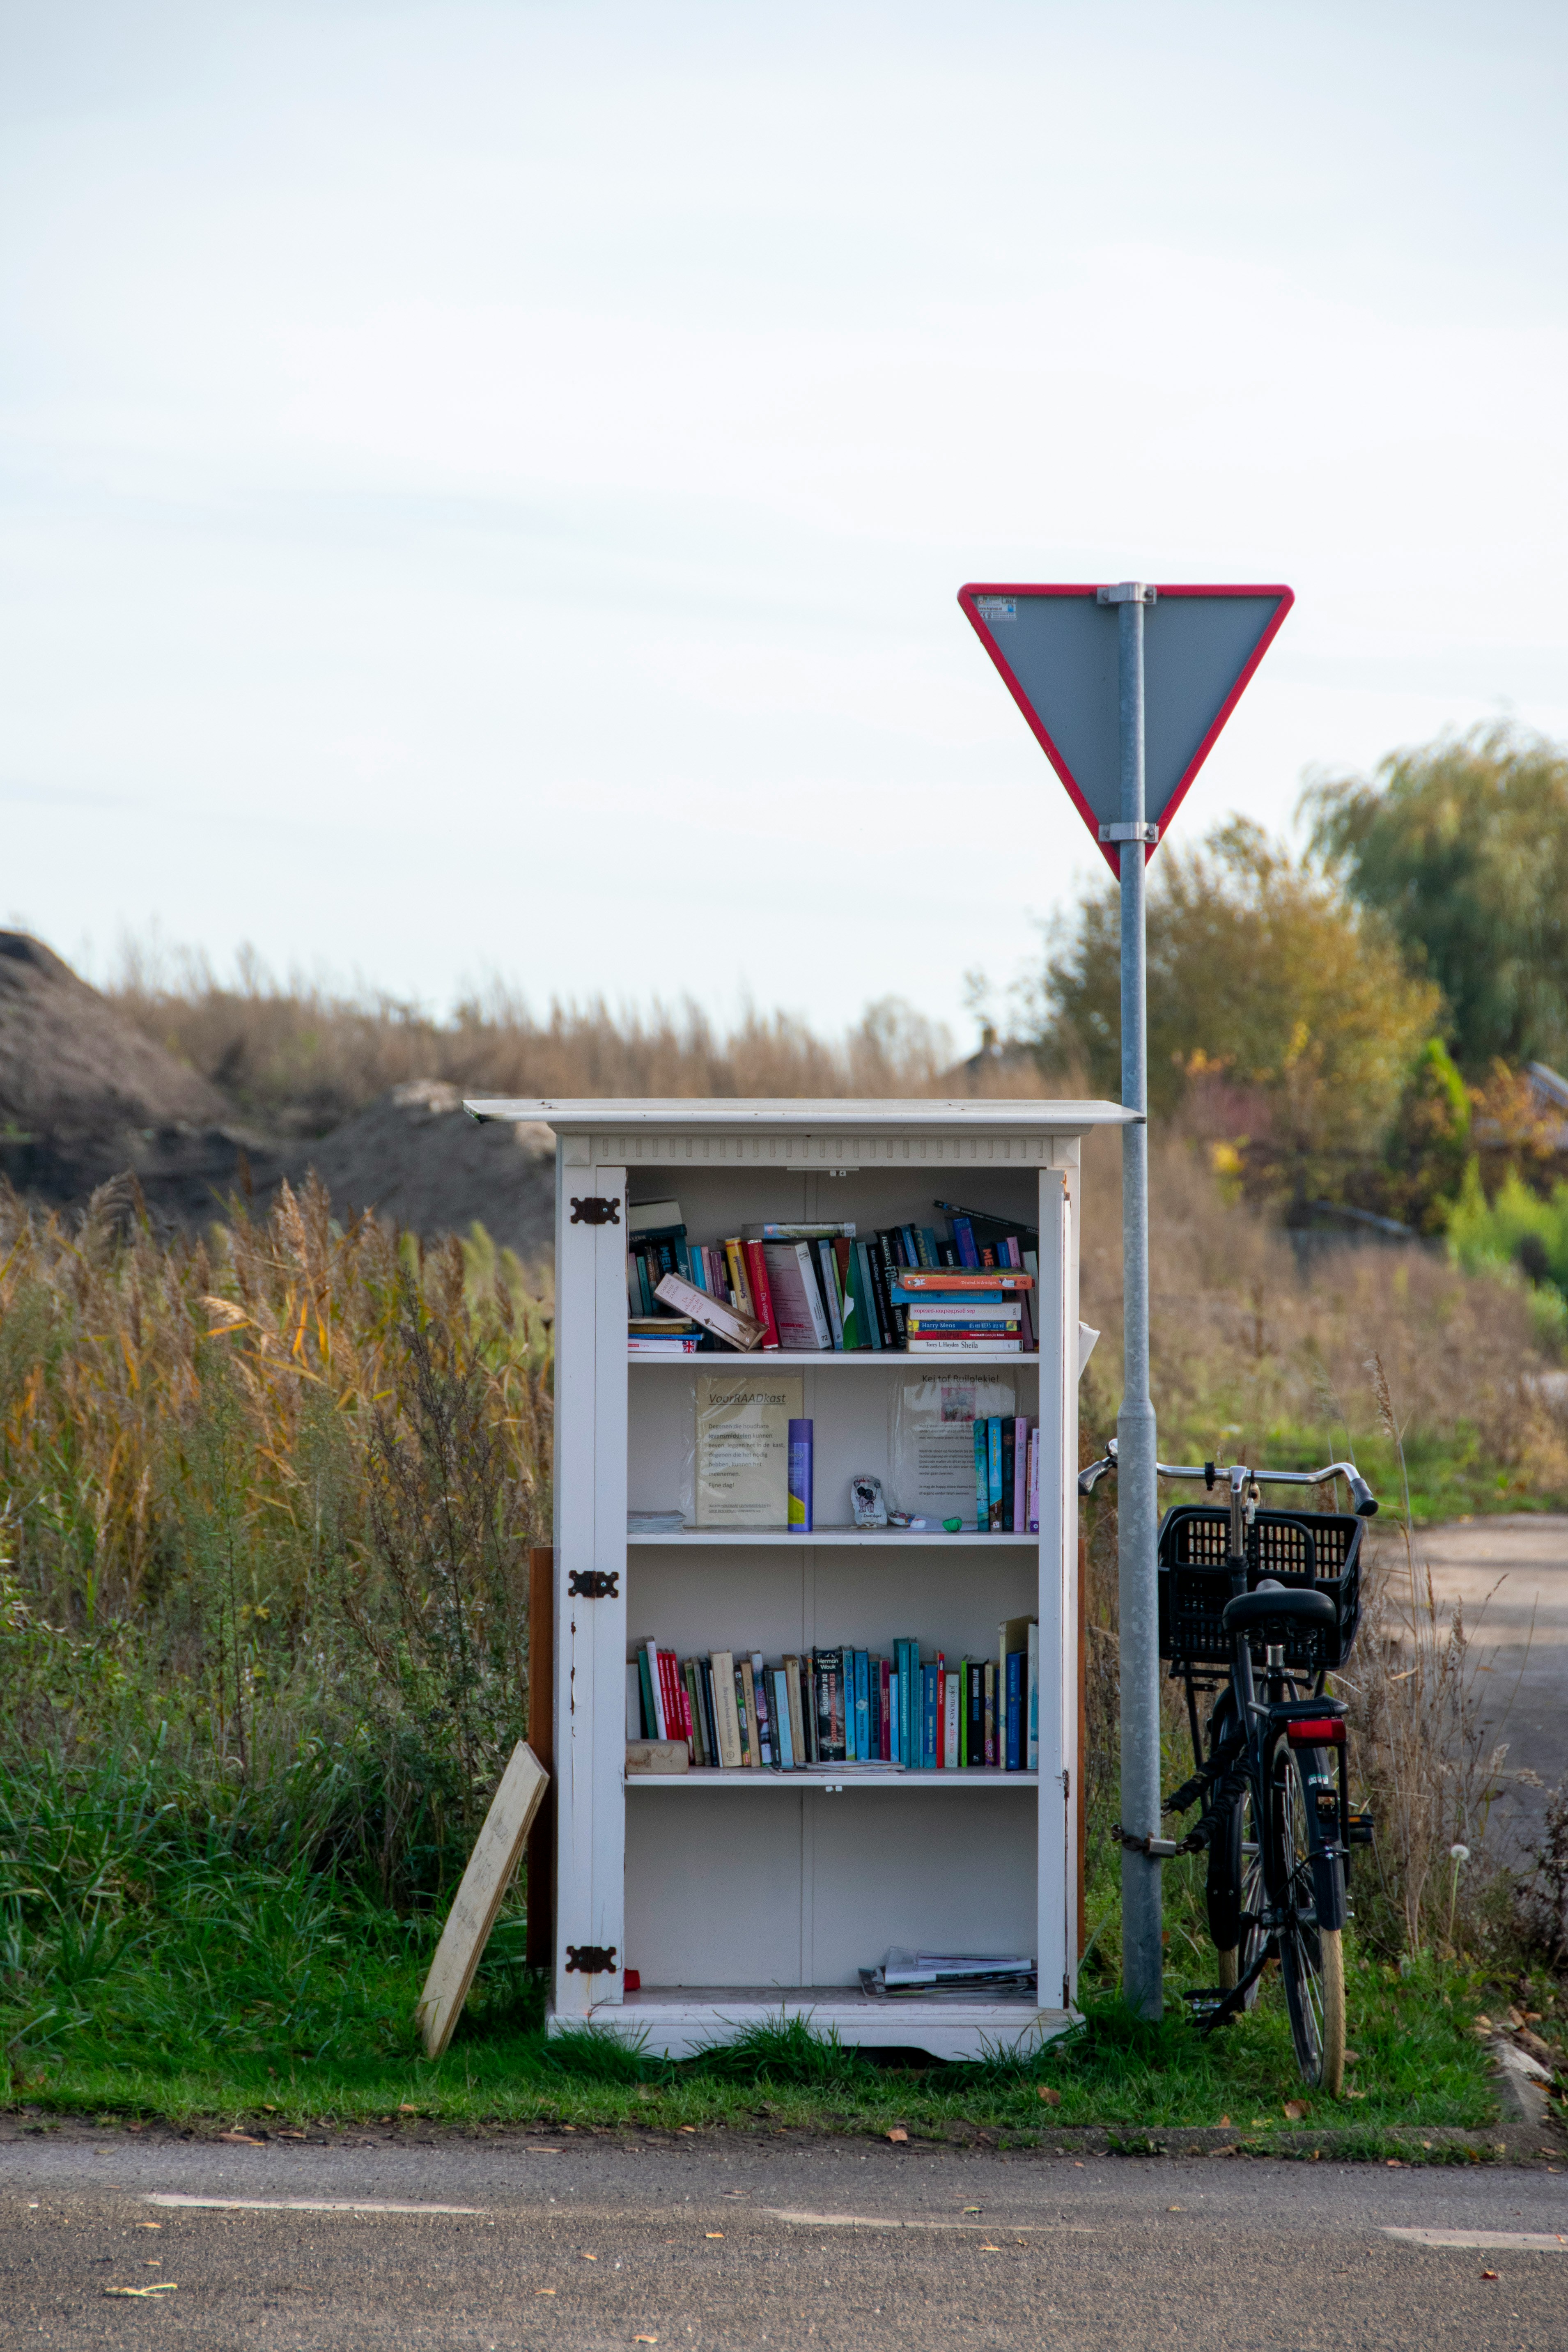
4. Making the Most of Kit Swap (& where to find gear) ♻️
At Endeavours, we are big on making ethical choices and saving you money, so we created a gear swap. A community where you can exchange items with fellow adventurers to get what you need and get rid of what you don’t need, it's a win-win! Access it through our Kitswap Whatsapp chat.
Alternatively, second-hand sites such as Depop and charity shops are worth a browse too. If you are based in London, we also recommend looking at the ‘Library of Things’ – a business where you can rent useful things including outdoor gear from local spaces. You can have a look at what they offer here.
If you do need to buy new gear we recommend the following brands for their social and environmental commitments.
- Vaude
- Alpkit
- Páramo
As a last resort, we recommend continuously dropping hints about gear needs around friends and family ("This hike looks amazing... gotta figure out a waterproof") until somebody offers to lend you their stuff – joking of course! But seriously, ask around your group of friends/family or think about any sports societies that may have their own gear you can borrow, who knows what could turn up.
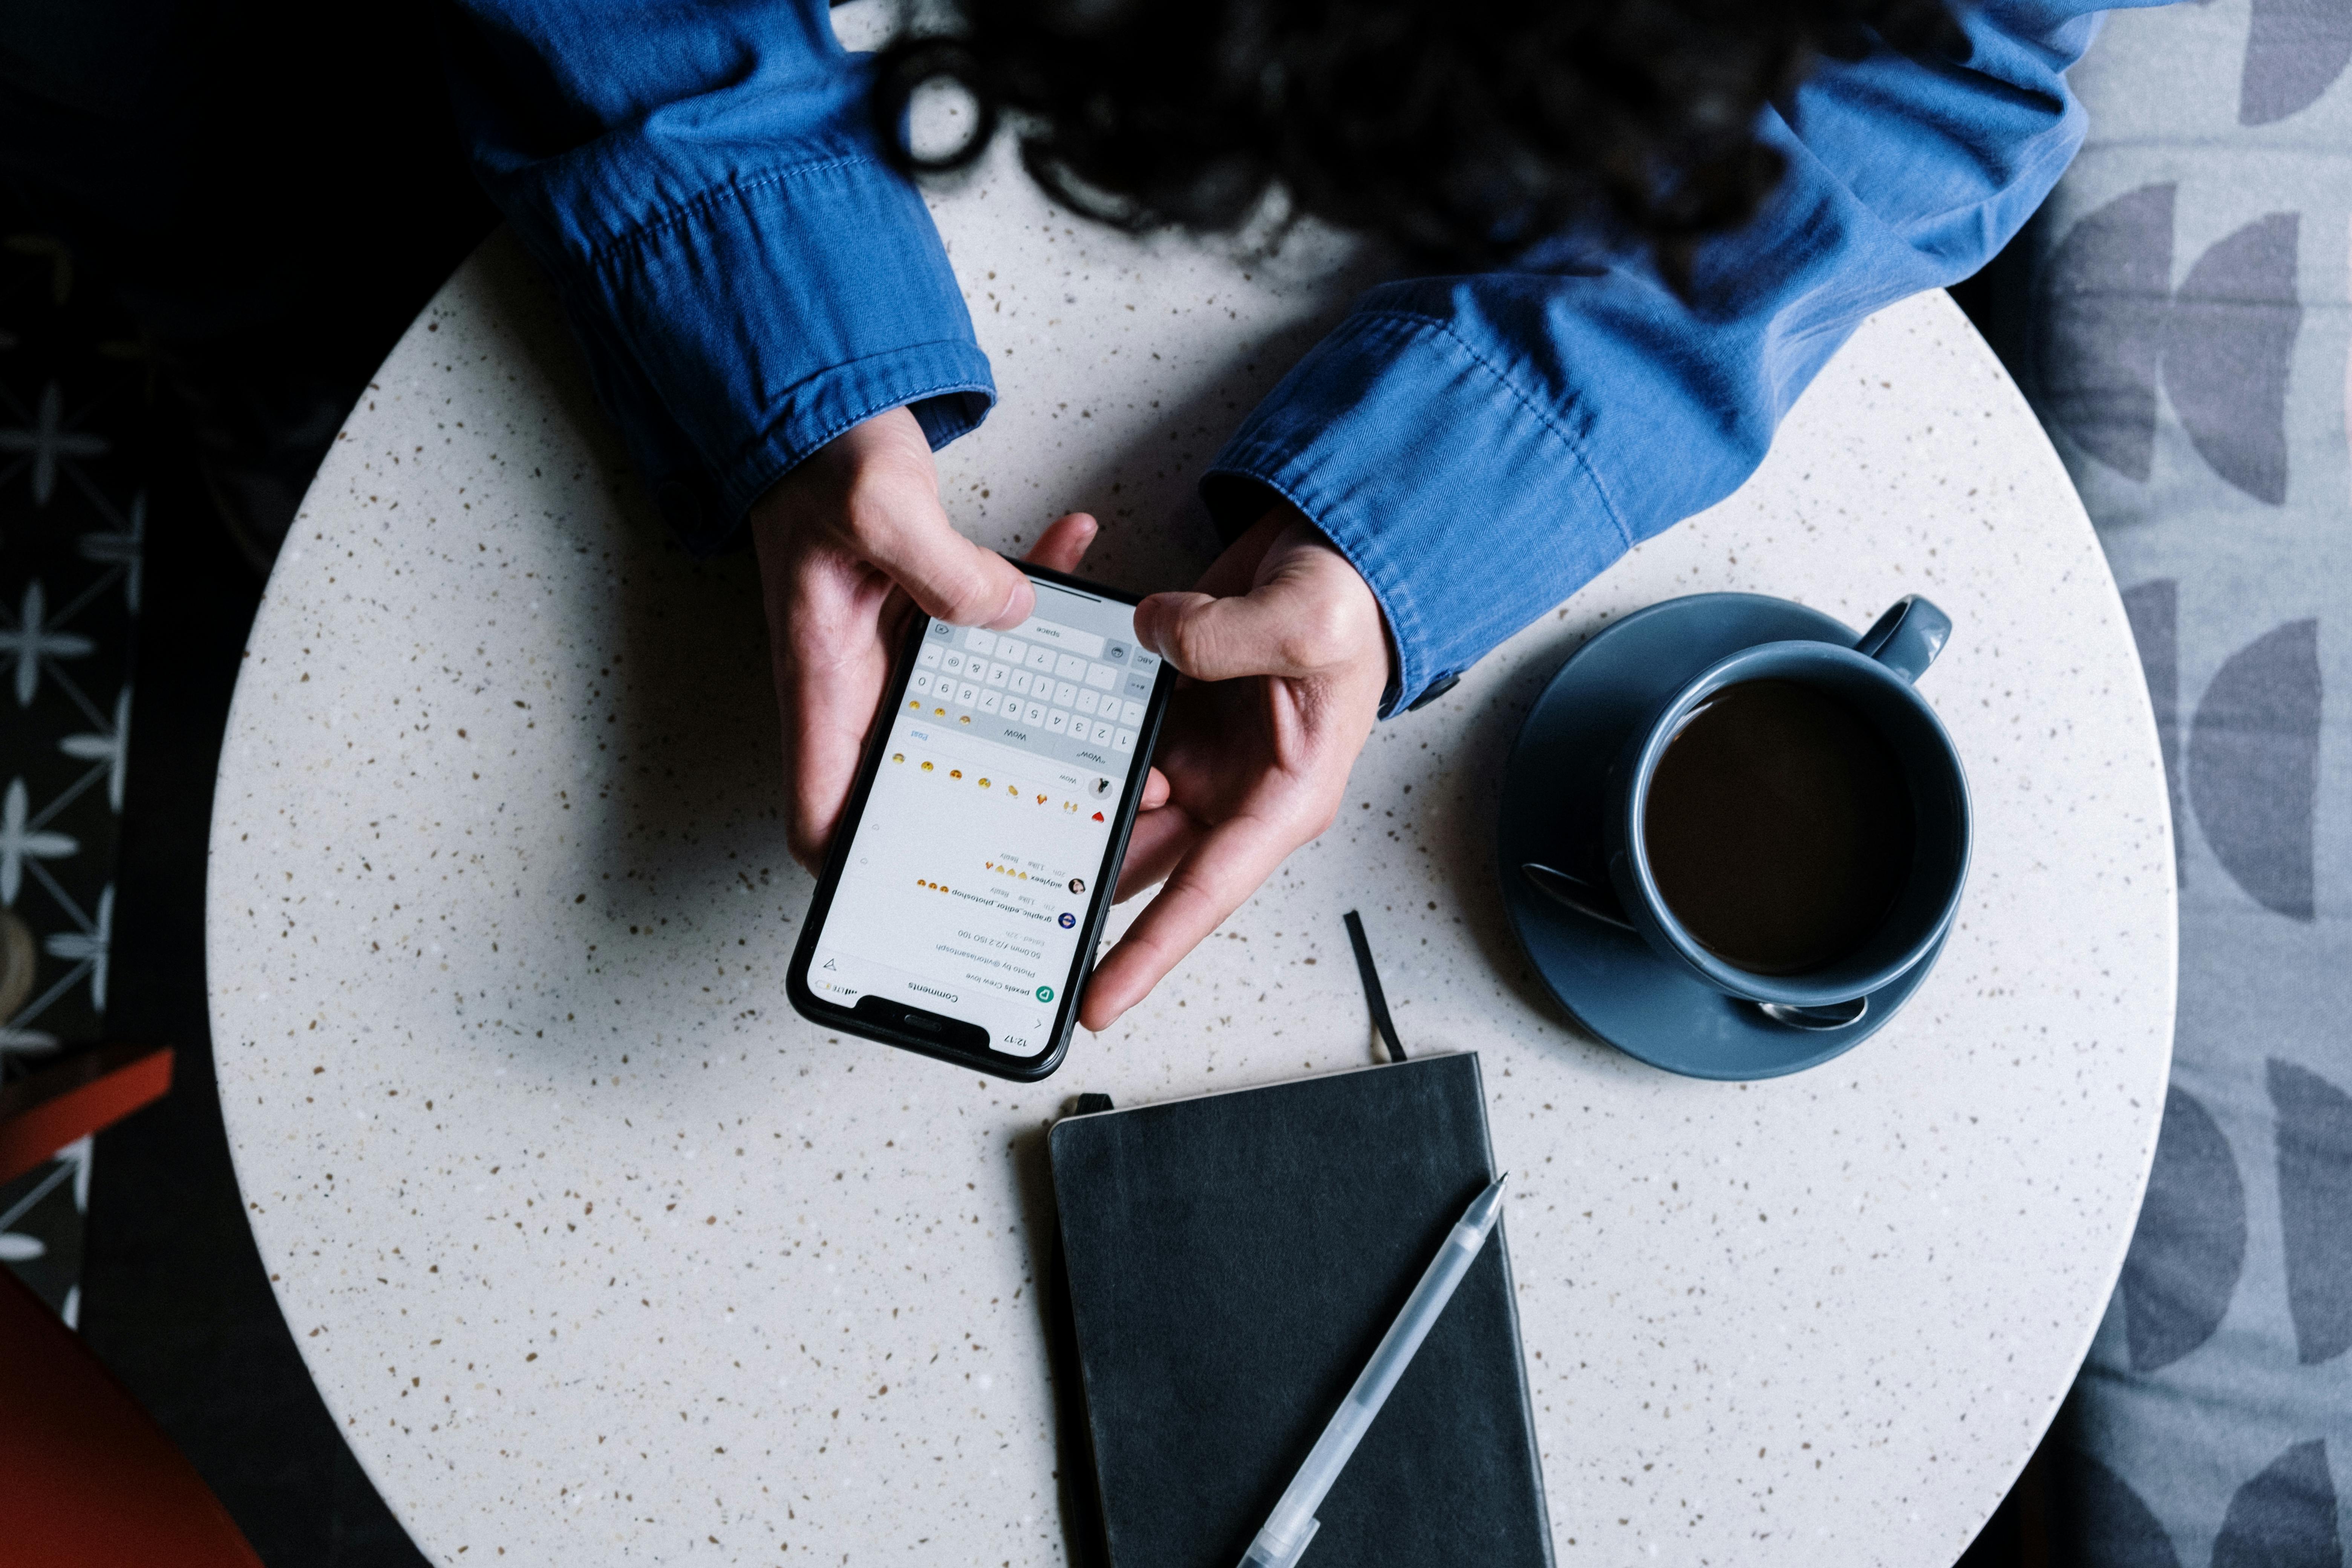
5. Involve Yourself in the Group Chats 💬
We’ve created a series of group chats on Whatsapp for you where you can meet fellow challenge participants, ambassadors and challenge leaders. We are proud of our community at Endeavours, if you aren’t there really you’re missing out!
It’s a great way to meet new people and socialise with like-minded individuals before you go away to take on the challenge together. Everyone is very supportive so you’ll find plenty of help like getting your questions answered on training, fundraising, and sharing gear recommendations – the opportunities are endless! Not to mention the fact it’s just fun to hear what others are up to.
If you are looking for a training partner or to form a group for weekend walks this is a great place to ask around! No doubt everyone else will be looking for some extra encouragement and motivation. You haven’t seen anyone ask yet? Maybe they haven’t read this blog post and thought about it or they’re too shy to be the first, so do everyone a favour and suggest it in the chat yourself!
Bonus – Keep an eye on our Instagram page as we often run competitions and fun community events!
6. Load up on Sleep Before the Challenge 😴
A trek is an exhilarating adventure, but it's also physically demanding. Imagine scaling a mountain after a restless night – achy muscles, sluggish reflexes, and a foggy brain are not your ideal companions. Prioritise quality sleep and ensure you get a minimum of 5 full nights of sleep, ideally 7, before your trip. This will enable you to overcome the sleep deficit accumulated in a busy life and give your body the chance to prepare for the physical challenges ahead.
Well-rested muscles are stronger as well as less prone to fatigue and injury. Your mind becomes sharper, allowing for better decision-making and reactions on the trail (this avoids the ‘I rolled my ankle because I was too tired to pay attention to my feet properly’ moment). Plus, a good night's sleep boosts your mood and energy levels, making the entire experience more enjoyable.
Of course, our adventures are about more than just conquering the trail. There will be social gatherings, places to see and exciting activities. By prioritizing sleep beforehand, you create a buffer and ensure you have the energy reserves needed to fully embrace every aspect of your adventure – from the early mornings hitting the trails to late nights singing songs in front of the fire with your companions and guides.
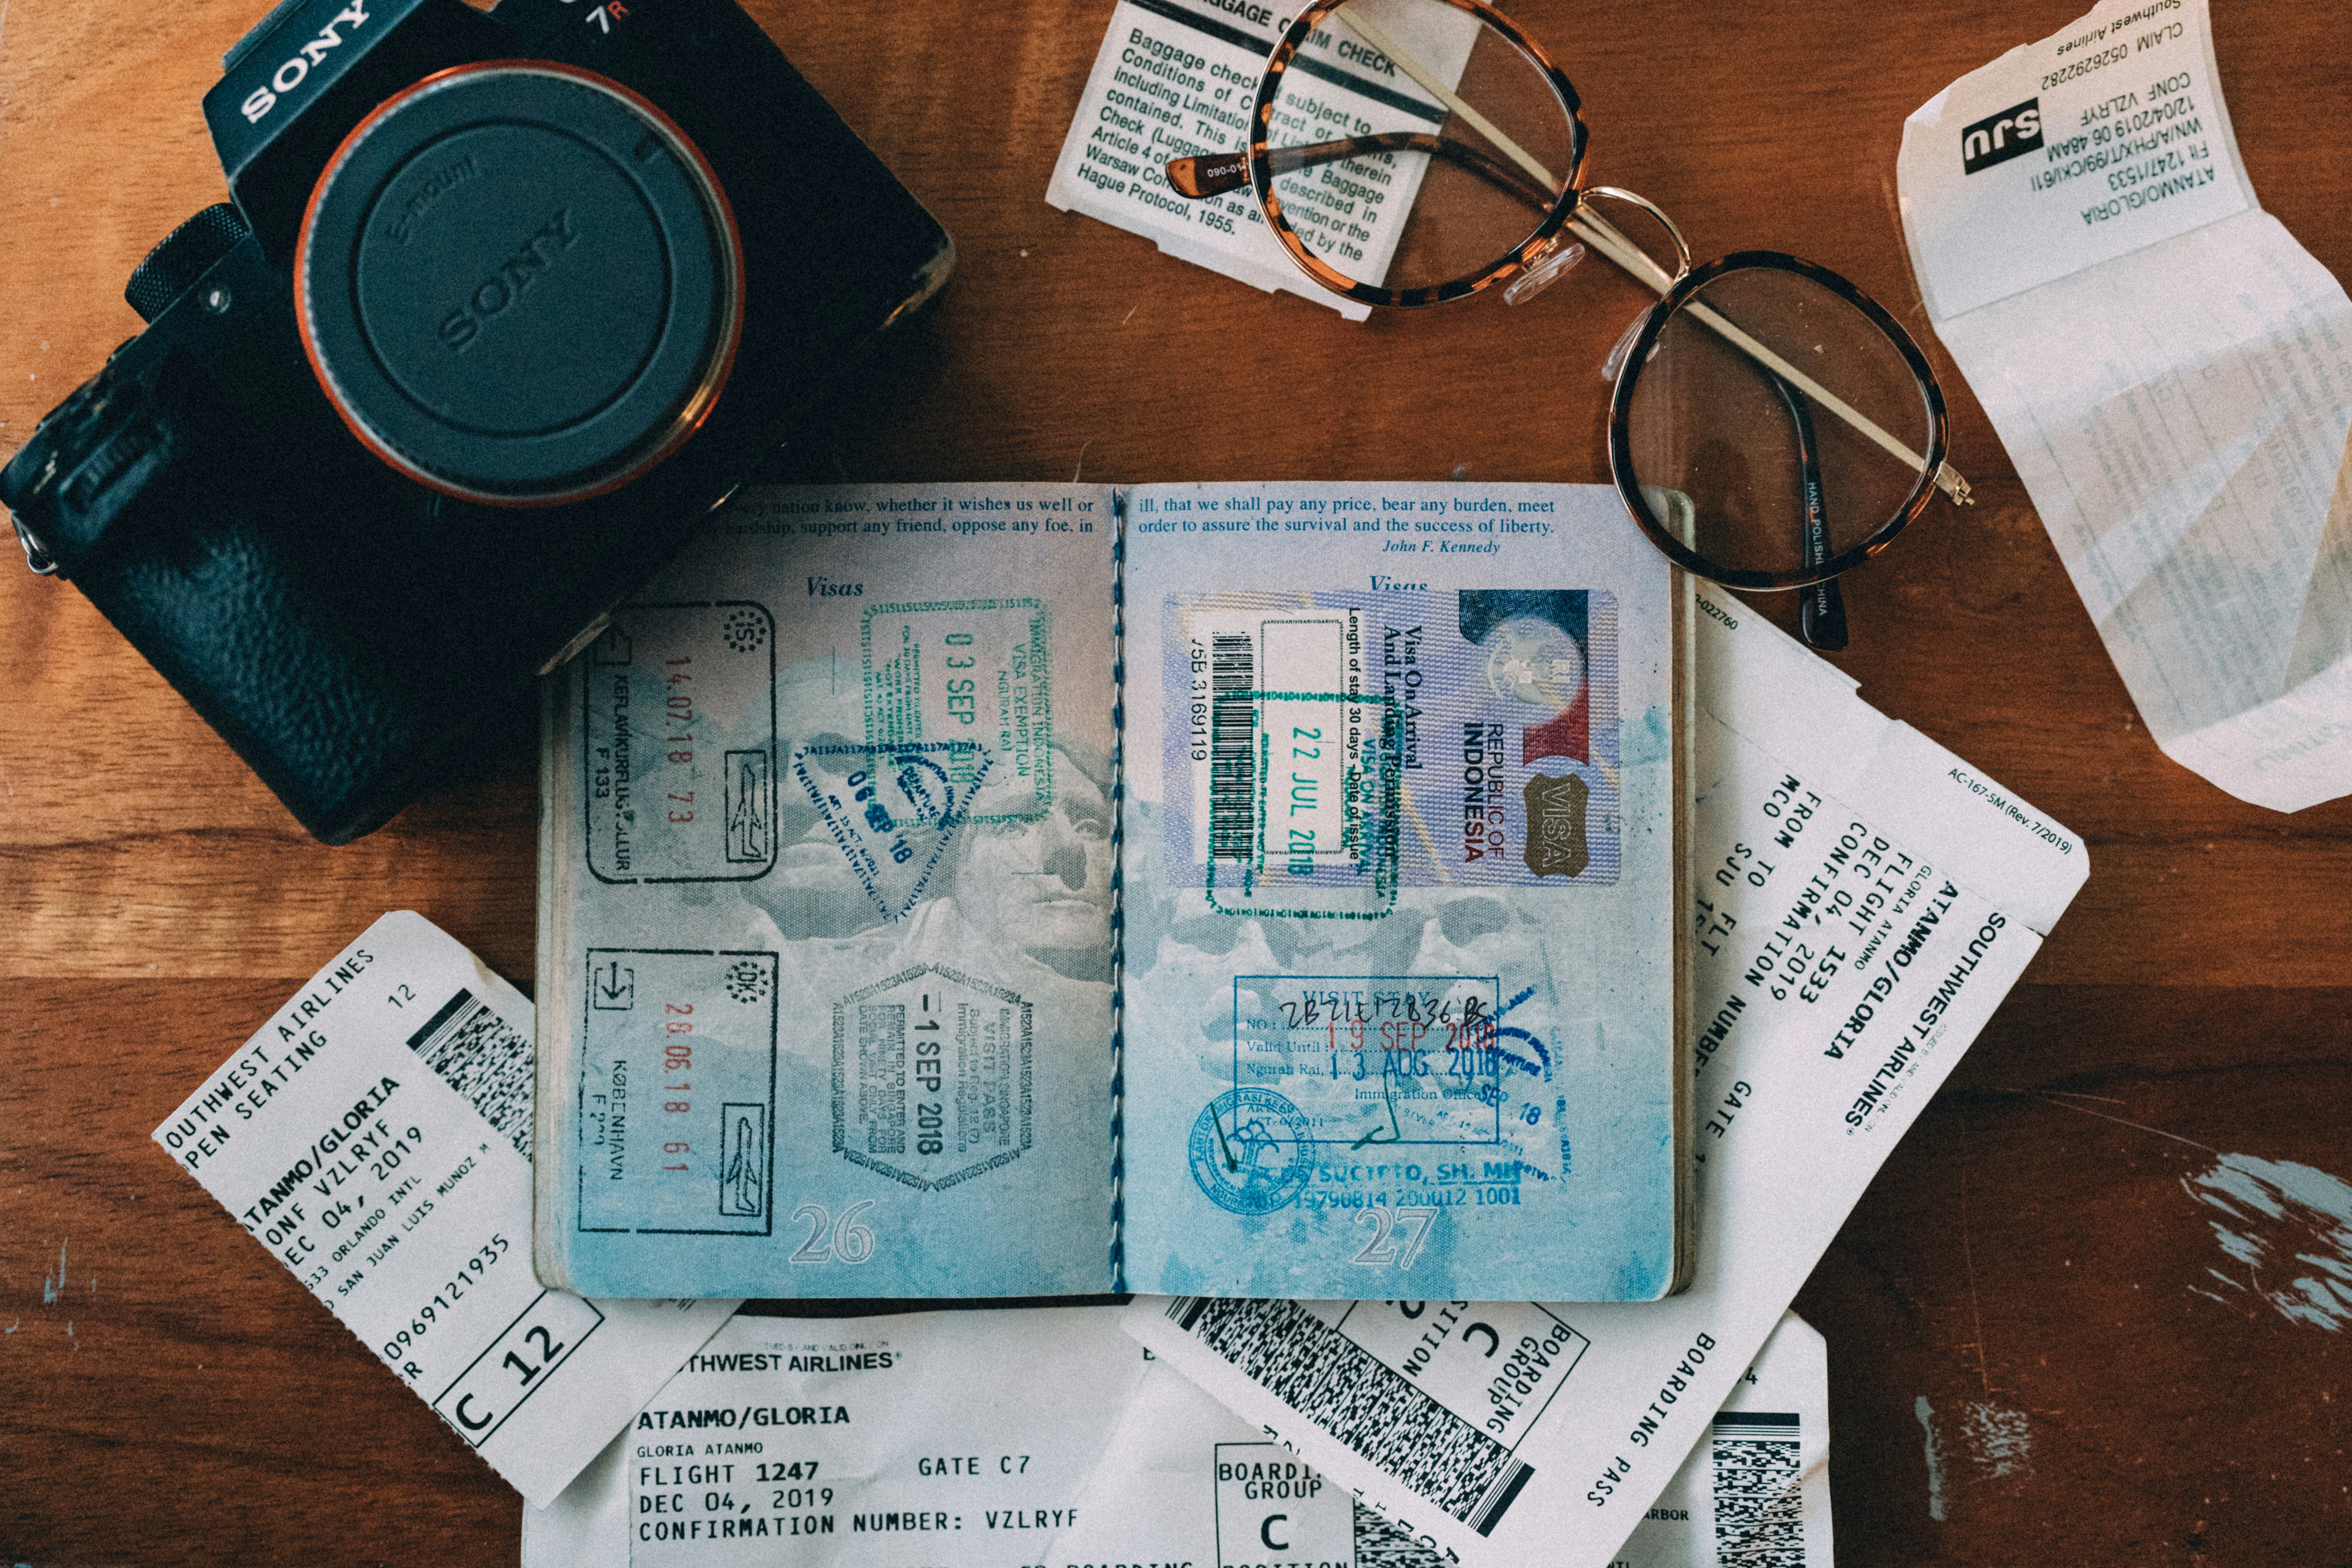
7. Sort the Paperwork Early: Be Prepared, Not Panicked 📅
Avoid last-minute stress by tackling the paperwork well in advance. Check your passport validity – is it up to date for your travel destination? Don't forget mandatory travel insurance (check your challenge specific information) – unexpected situations can arise, and being covered gives you peace of mind. Having everything organized beforehand allows you to immerse yourself completely in the excitement of the adventure, not scrambling to deal with last-minute hiccups.
Checked off your passport and insurance already? A few more items to remember before you can hit the trail. Securing your flights to and from your destination as early as possible will enable you to get a better deal. Research visa requirements if necessary. Budget for any additional food you might need on the trip outside of provided meals.
Don't forget to factor in tips for your guides and porters, their expertise and entertainment will be invaluable. Finally, estimate your personal spending money for souvenirs, and consider if you want to stay at the challenge location and extend your trip to explore the area. By taking care of these boring bits in advance, you can relax and focus on what matters most – experiencing the adventure of a lifetime.
BONUS TIP – 3 Items That Make a World of Difference 🙌
I wish I had someone tell me this when I started hiking, so here’s me passing this on to you and hopefully making your treks come a little bit better.
Good Socks are Game Changers 🧦
Don't underestimate the power of a good sock! They might seem like a minor detail, but on a long trek, ill-fitting poorly constructed socks can turn a beautiful adventure into a blister-filled nightmare.
Fit is a priority. This is hard to judge when buying online, but shops such as Cotswolds Outdoors allow you to try on in-store with a thin sock underneath and you can look out for free return policies on online retailers. Always try your socks with the footwear you intend to wear them with as the two things working in conjunction are what ultimately delivers the comfort you need.
Merino wool is a favourite amongst the trekking community, and my go-to, with unparalleled temperature regulation and moisture-wicking properties. This material does come with a premium price tag attached but reputable brands produce socks that last years. I’ve had my Bridgedale and Darn Tough socks for over 6 years!
Experiment with different levels of cushioning to find what you like (potentially borrow from friends at this point to save you from shelling out on various socks). I don’t like too much cushioning in my socks but know others who like their socks to feel like their duvet!
If you trek regularly get different-weight socks to match the weather and intensity of the walk to stop your feet from overheating and sweating too much making you more susceptible to blisters. Finally, we’d recommend bringing 3 sets of socks on your trek (alternate between 2 pairs, 3rd as reserve) to ensure you have dry comfortable socks for your journey.
Compeed Blister Plasters are Hands Down The Best 🦶
They’re magical, almost like a tiny force field deflecting the forces of friction. Just buy them and keep them in your bag, even if you aren’t prone to blisters and you’ve reduced the risk by getting good socks + fitting boots, they still can hit when you are least expecting.
Accidentally step in a puddle and get your boots flooded at the beginning of an 8h walk? Or maybe you haven’t made your boots as tight as usual because you woke up tired? You try to ignore it and brave it but before you know it you’ve got a full-blown blister. That’s when you’ll be grateful you keep Compeed in your bag.
Pro tip - applying a blister plaster or Zinc Oxide tape at the first sign of discomfort, you can stop a hotspot from escalating into a full-blown blister.
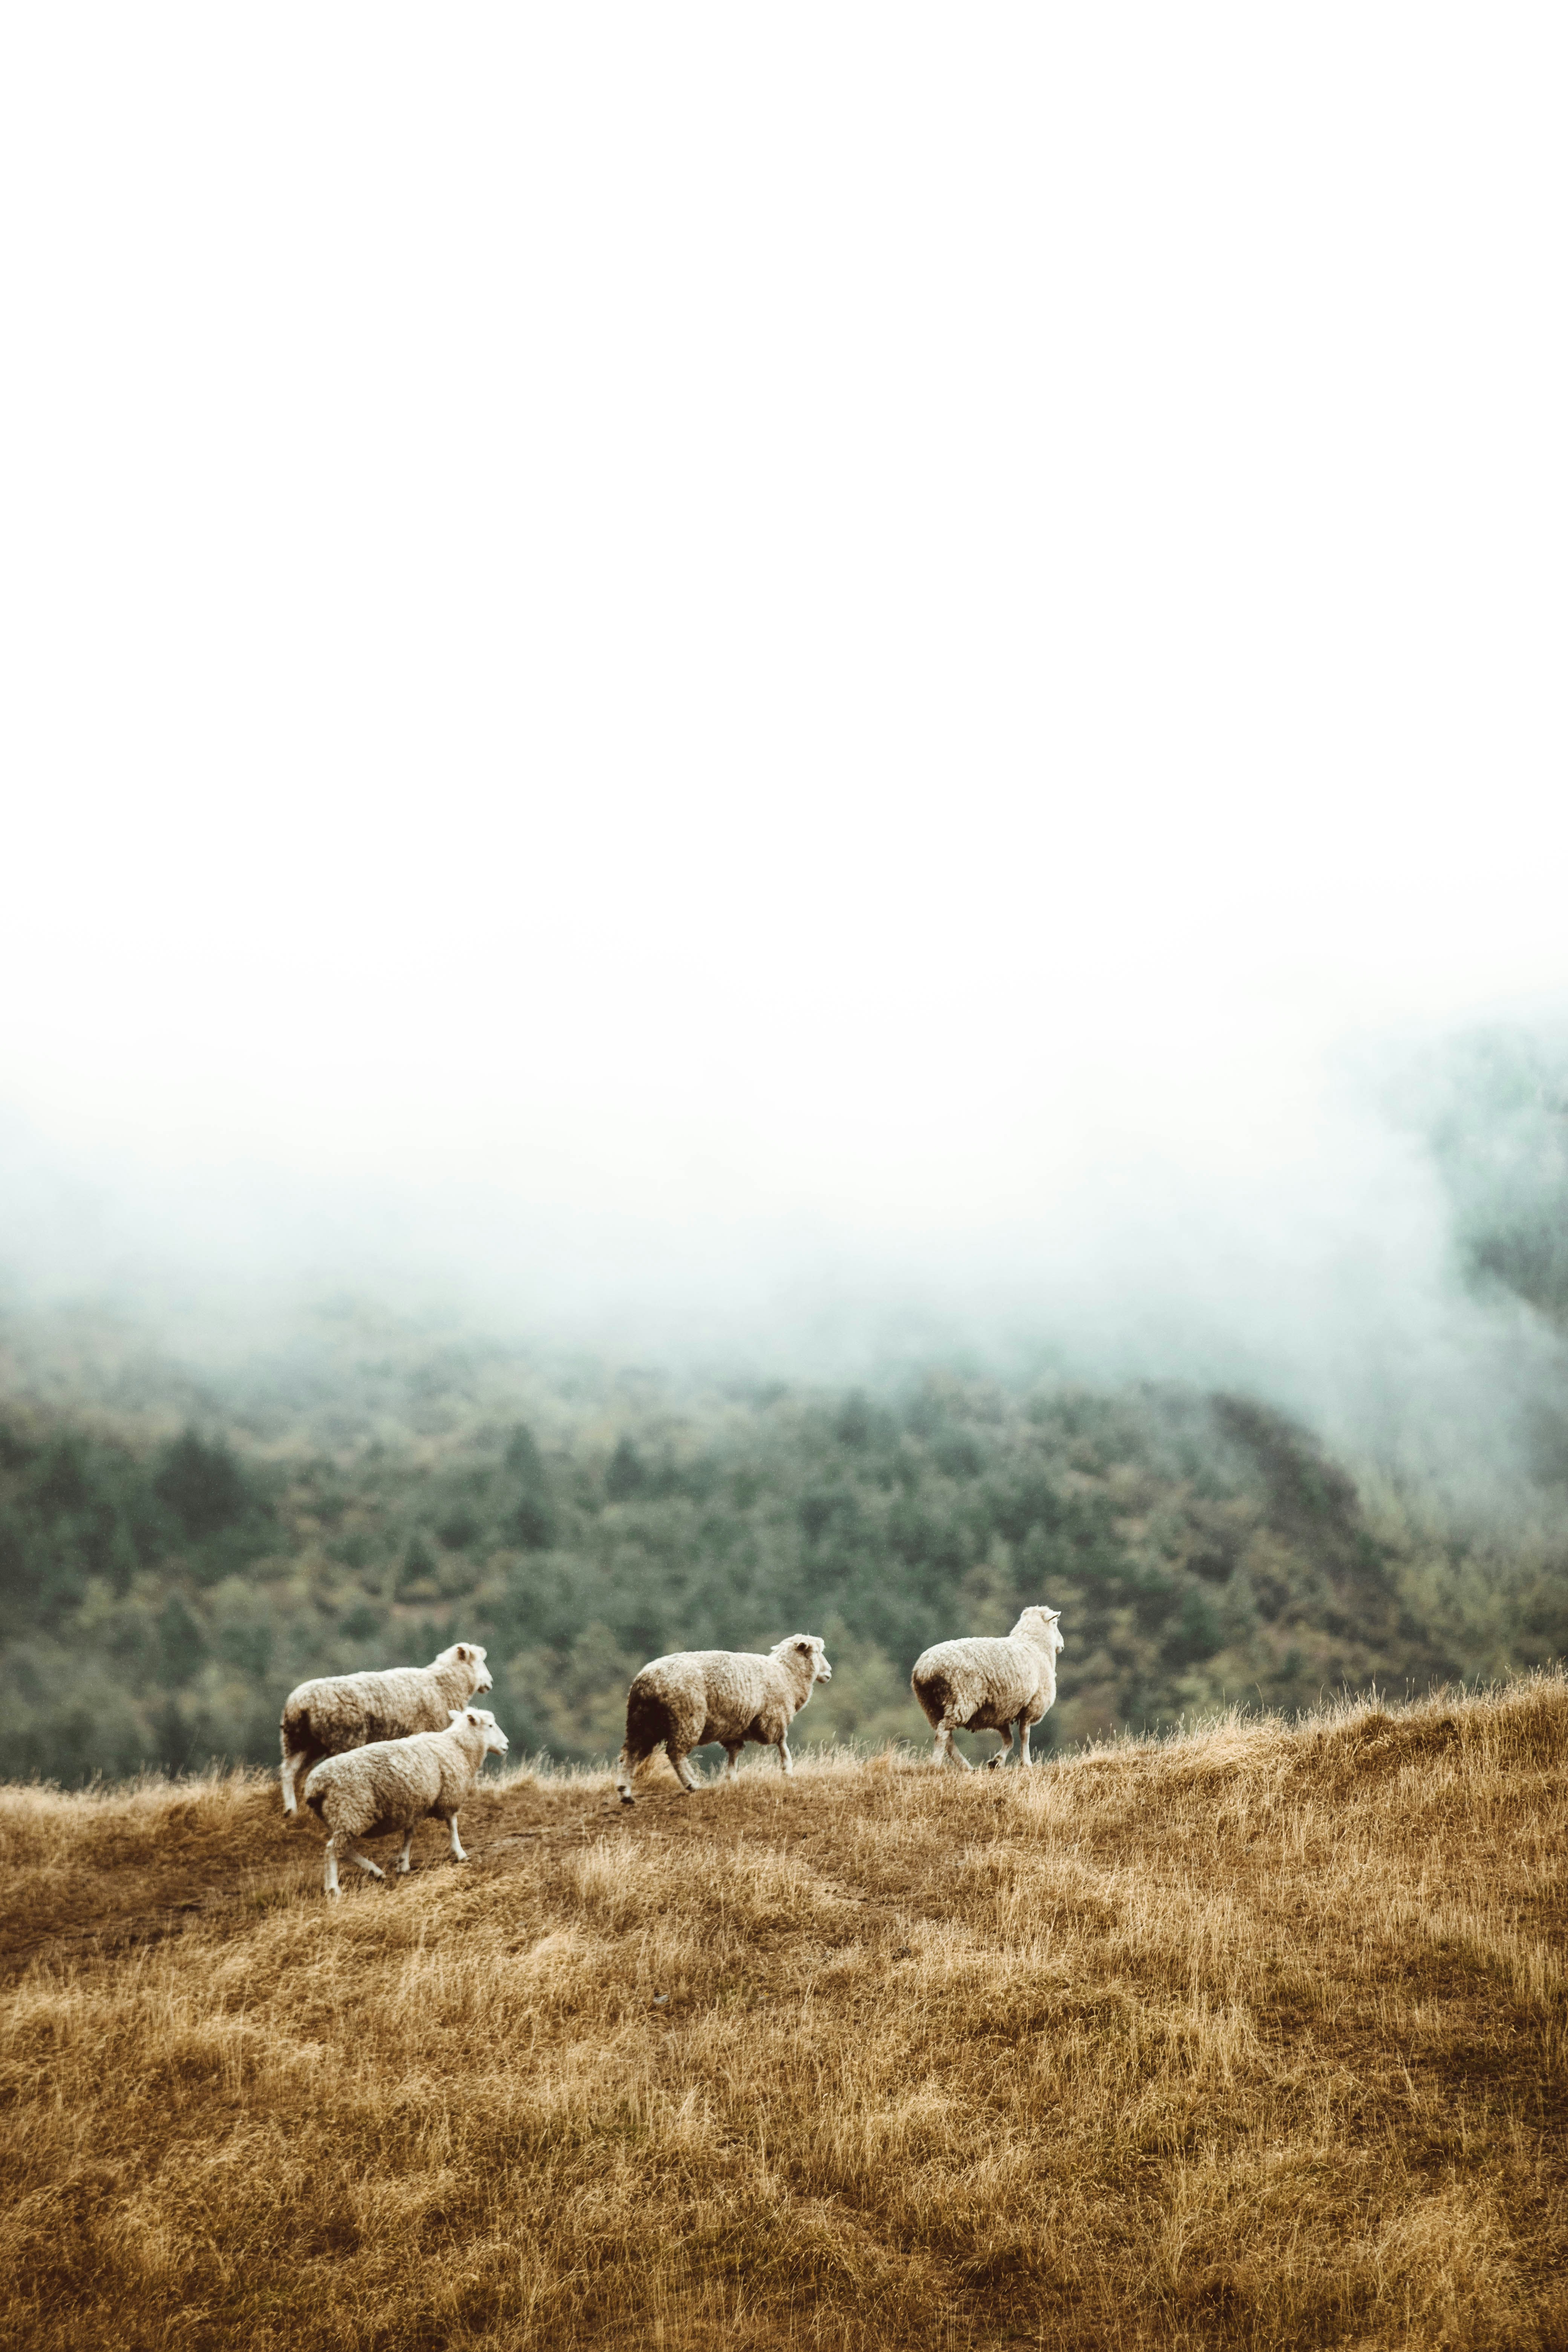
Merino Wool Buffs are Where It's At 🐑
First off, if you aren’t familiar with a ‘Buff’ it’s essentially like a practical sports scarf, sometimes described as a neck tube.
A buff is a great item, stops heat escaping from your core up out of your clothing and wind funnelling in, it almost acts like a temperature stopper keeping you cosy. However, with a synthetic buff you’ll likely get sweaty pretty quickly and either have to remove it and face the bitter wind buffeting down your neck or you get cold as the sweat builds up and takes even more heat away when it blows. Solution – enter the merino sheep with its incredible coat and thermoregulating properties.
A merino wool buff is a new level of comfort you didn’t think was possible. If you are looking for an extra level of weather protection in very cold climates use a fleece neck tube over your Merino buff, then you benefit from a layer of breathability under the fleece but are protected from the elements (tried and tested by our team in the Norwegian Winter!).
The End ✨
We hope this was useful and would love to hear your top tips for preparing for a trek. Reach out to us on Instagram @endeavoursadventures and we'll see you very soon on challenge day!
P.S. If you haven't yet signed up to a challenge, what are you waiting for? See our full list of challenges here.